Useful tips for repairing or upgrading your notebook
I have opened my notebooks many times, and did various repairs or upgrades on them. During these processes I have learnt a lot of lessons which I thought I would share in this article. If you are looking to add more RAM, repaste your CPU or perform repairs or upgrades to your notebook, read on!
Already a seasoned repair-person? Then these tips will probably sound familiar to you. But if you are about to embark on your first notebook repair project, then these tips should get you started.
Most of the tips are universally applicable – one or two things might be Lenovo or ThinkPad specific.
A word on warranties
Repairing your own computers can be great fun and satisfying. But never forget about warranties.
Some repairs are allowed by your manufacturers – like adding more RAM or replacing the SSD. Other repairs might void your warranty – like doing a repaste or exchanging your built in battery or the LCD display.
If you accidently break something during the repair, that will most certainly not be covered by your warranty.
Tools and preparations
Before you start opening up your computer, it is a good idea to have some tools at hand. Here is a list of tools and preparations you can take before proceeding.
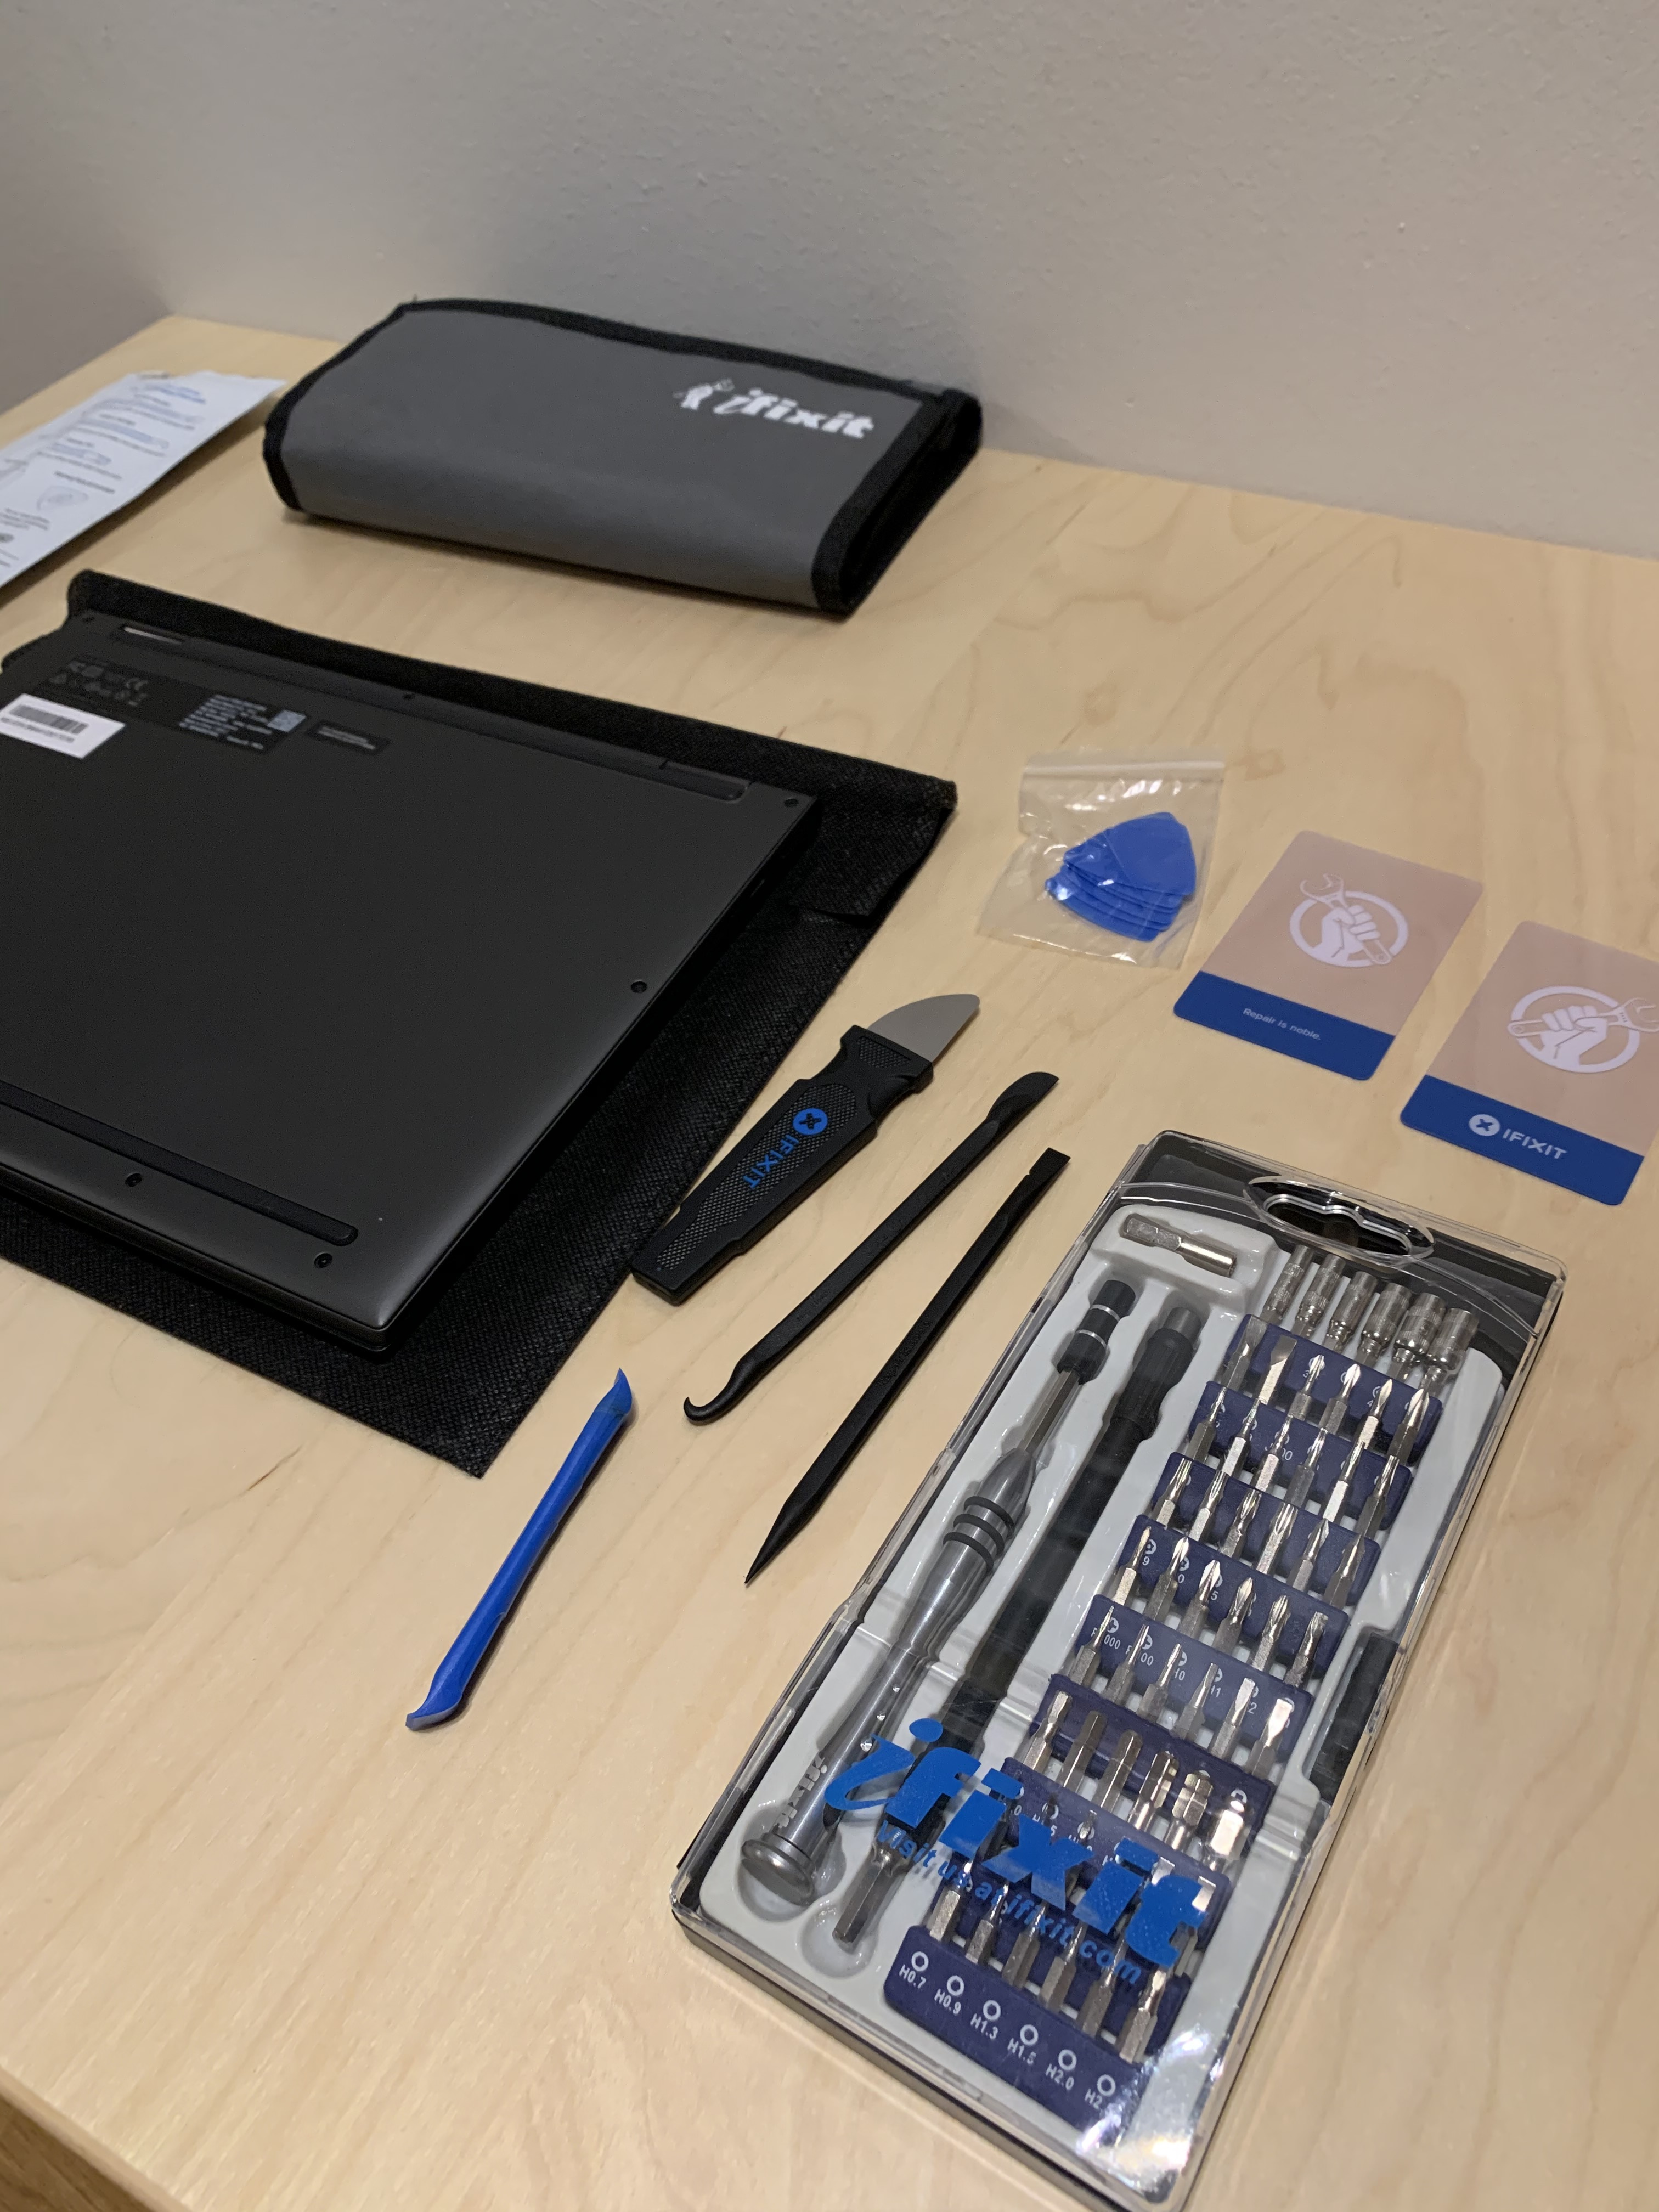
iFixit Pro Tech Toolkit
For all tech repair needs, this iFixit toolkit provides almost everything you need. I myself use this both at home and at work (I also own the previous version you can see in some of the pictures on this page).
I like it very much and recommend it to anyone who asks me what to use for fixing their computer.
iFixit is not endorsing or supporting me in any way, I simply recommend the toolkit because I find it very useful. It makes for a great gift for nerdy friends as well 😉
https://www.ifixit.com/Store/Tools/Pro-Tech-Toolkit/IF145-307
Headlamp
I tried all sorts of lamps, and while it is good to make repairs in a well lit workspace, a headlamp really elevates working on components to the next level.
Glasses or magnifying glass
Sometimes components are really small. If your eyesight is not the best, remember your glasses. Even if you do not use glasses, sometimes a magnifying glass can be a great way to look at details.
If you do not have a magnifying glass you could get away with using your phone to take pictures and zoom in. Try different lenses on your phone. Macro mode might come in handy as well.
Compressed air
Especially if you are working with an older computer, compressed air can help you get rid of the dust inside. Also, some operations like repasting require that there be no dust on the CPU/GPU before you apply thermal paste, so this can become handy in many situations.
A storage tray
You will probably remove different kinds of screws and other small parts. Some sort of storage tray is good to have, where you can put these parts. And you can put the parts that belong together near each other.
iFixit also sells magnetic pads that you can put these parts on and write near them what they are.
Many stores carry storage trays with lots of small pockets to group items into.
Any one of these is ok for the job.
In fact, the cover of the iFixit toolkit mentioned above will also double as a tray (albeit not a too large one).
Manuals
Download manuals for repairing your computer beforehand. For ThinkPads and Lenovo systems, go to https://pcsupport.lenovo.com and enter your system details. Look for the Hardware Maintenance Manual that will get you started on repairs.
The manual is good to be available DURING the repair. For this reason, you will either need to print it, or use another computer to be able to read it. If you have an iPad or an Android tablet, download the manual onto that. They are easy to use for referring to the repair instructions.
Sometimes, the manual pictures are hard to understand or are straight wrong (rarely!). Do not panic, these things happen. Look at what you are trying to accomplish and what would be a way to achieve it. Try not to force anything, even if the manual says pull-push-move in a certain direction.
Parts removal and replacement videos (Lenovo systems only)
Lenovo has a comprehensive archive of service videos for various systems. Before getting started, watch all the videos you will have to perform yourself.
https://support.lenovo.com/us/en/solutions/ht505031
YouTube
Do a YouTube search! Somebody might have opened up a similar notebook already and documented it in a video. Even if the actual repair is not the same, parts of the process might be similar.
How to start?
Make sure you have allocated ample time for your repairs. Especially if this is a machine you have not worked on before, certain steps can feel difficult or take more time than planned. Rushing things will just get you into trouble.
Photos
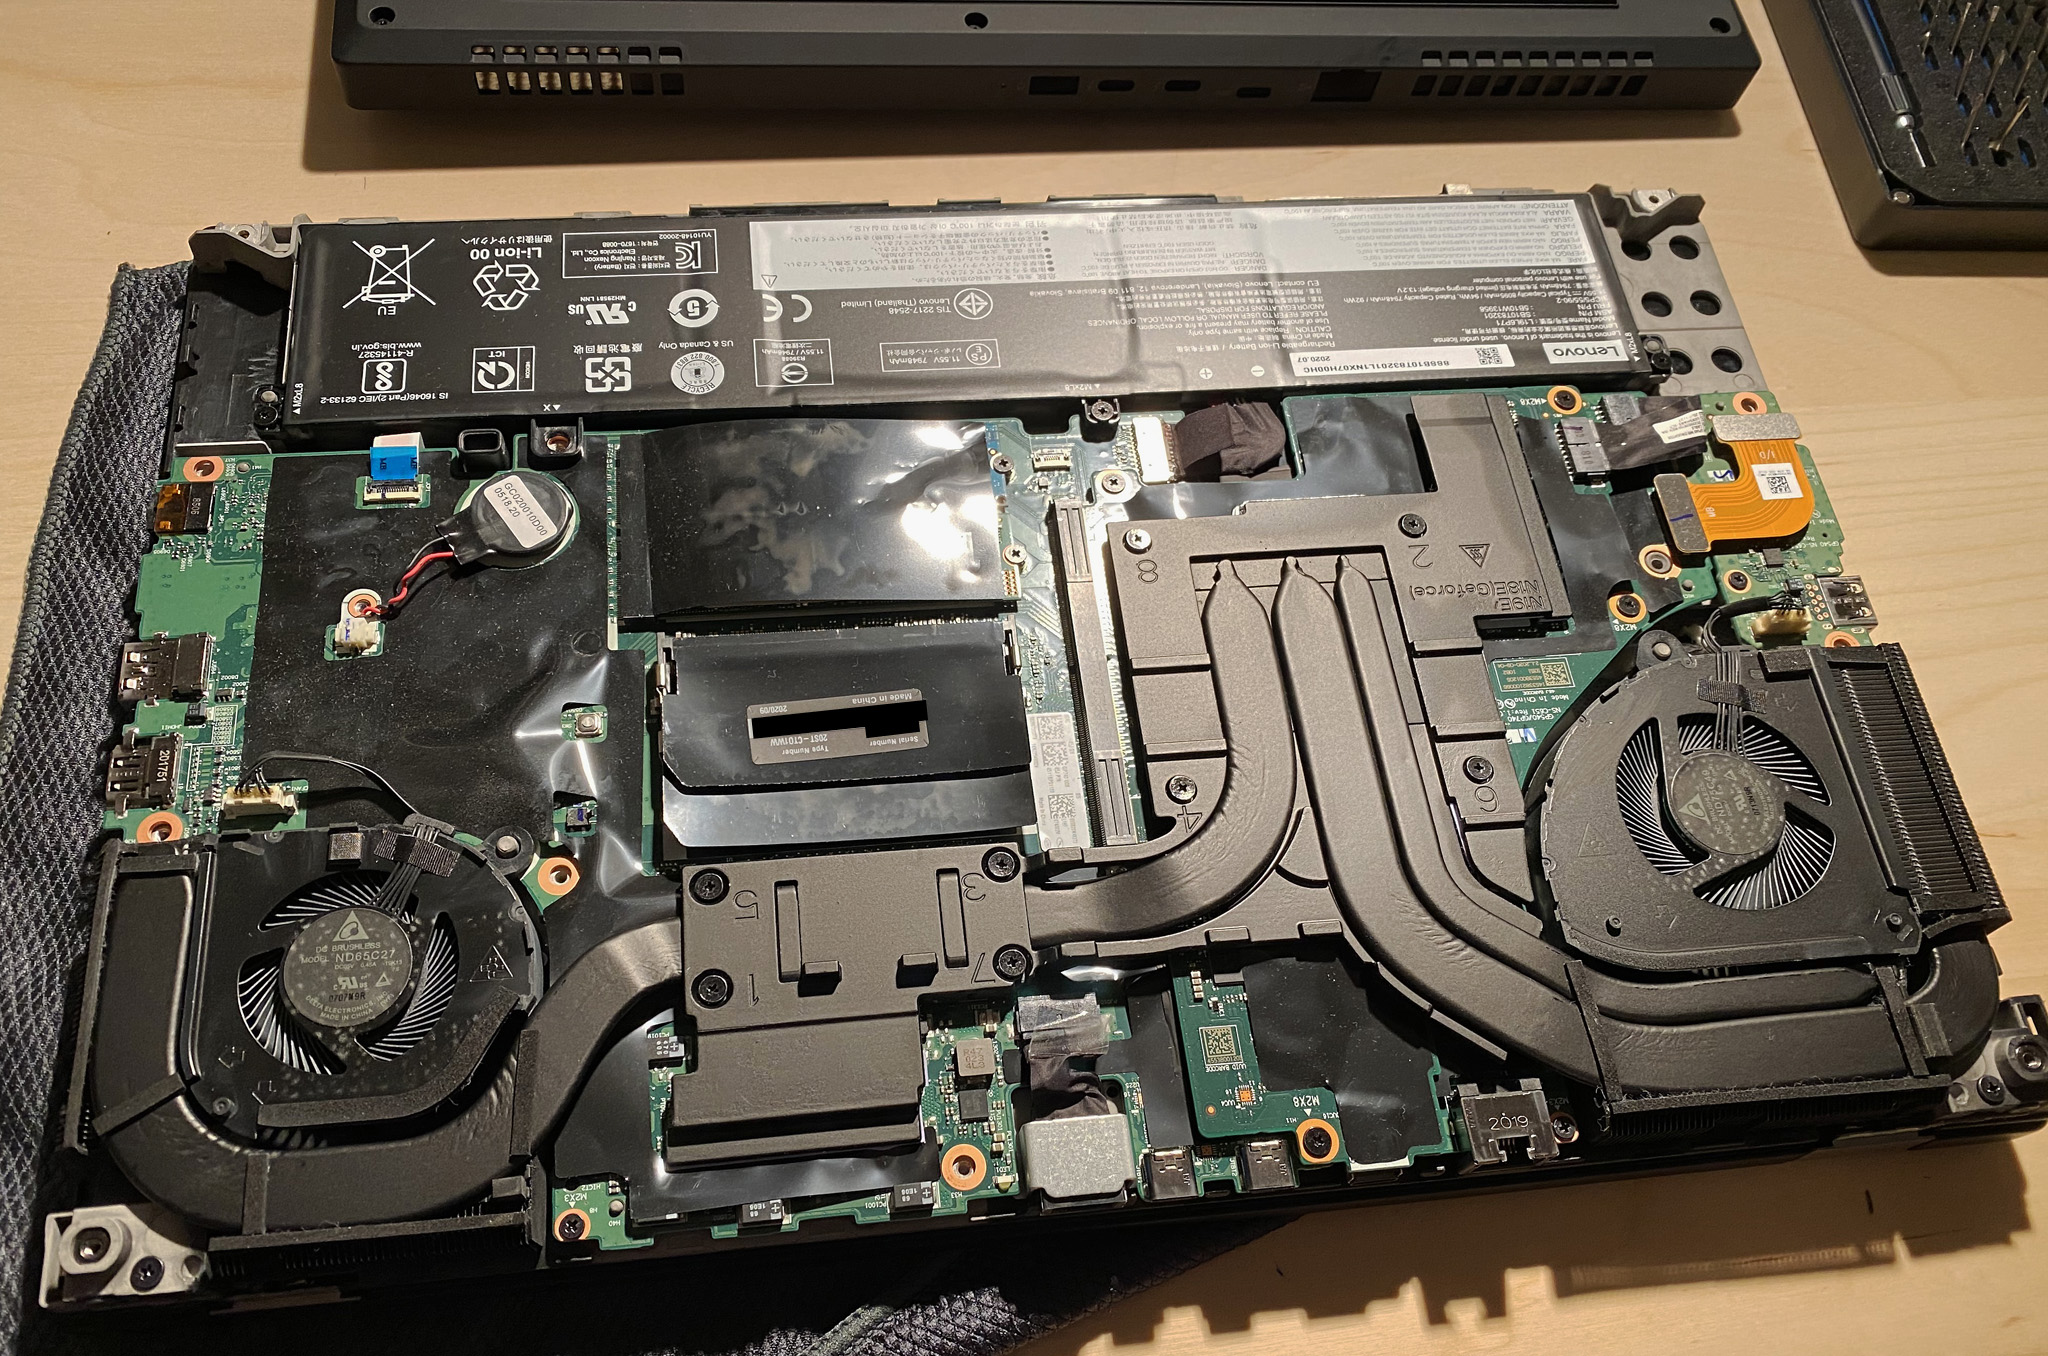
I learnt the hard way that you should take photos of what you repair. Because you will not remember how things were before!
How was this cable put in there?
How was that part put under the other one?
Which cable was connected to which connection?
These are questions you might THINK you will remember. But you won’t.
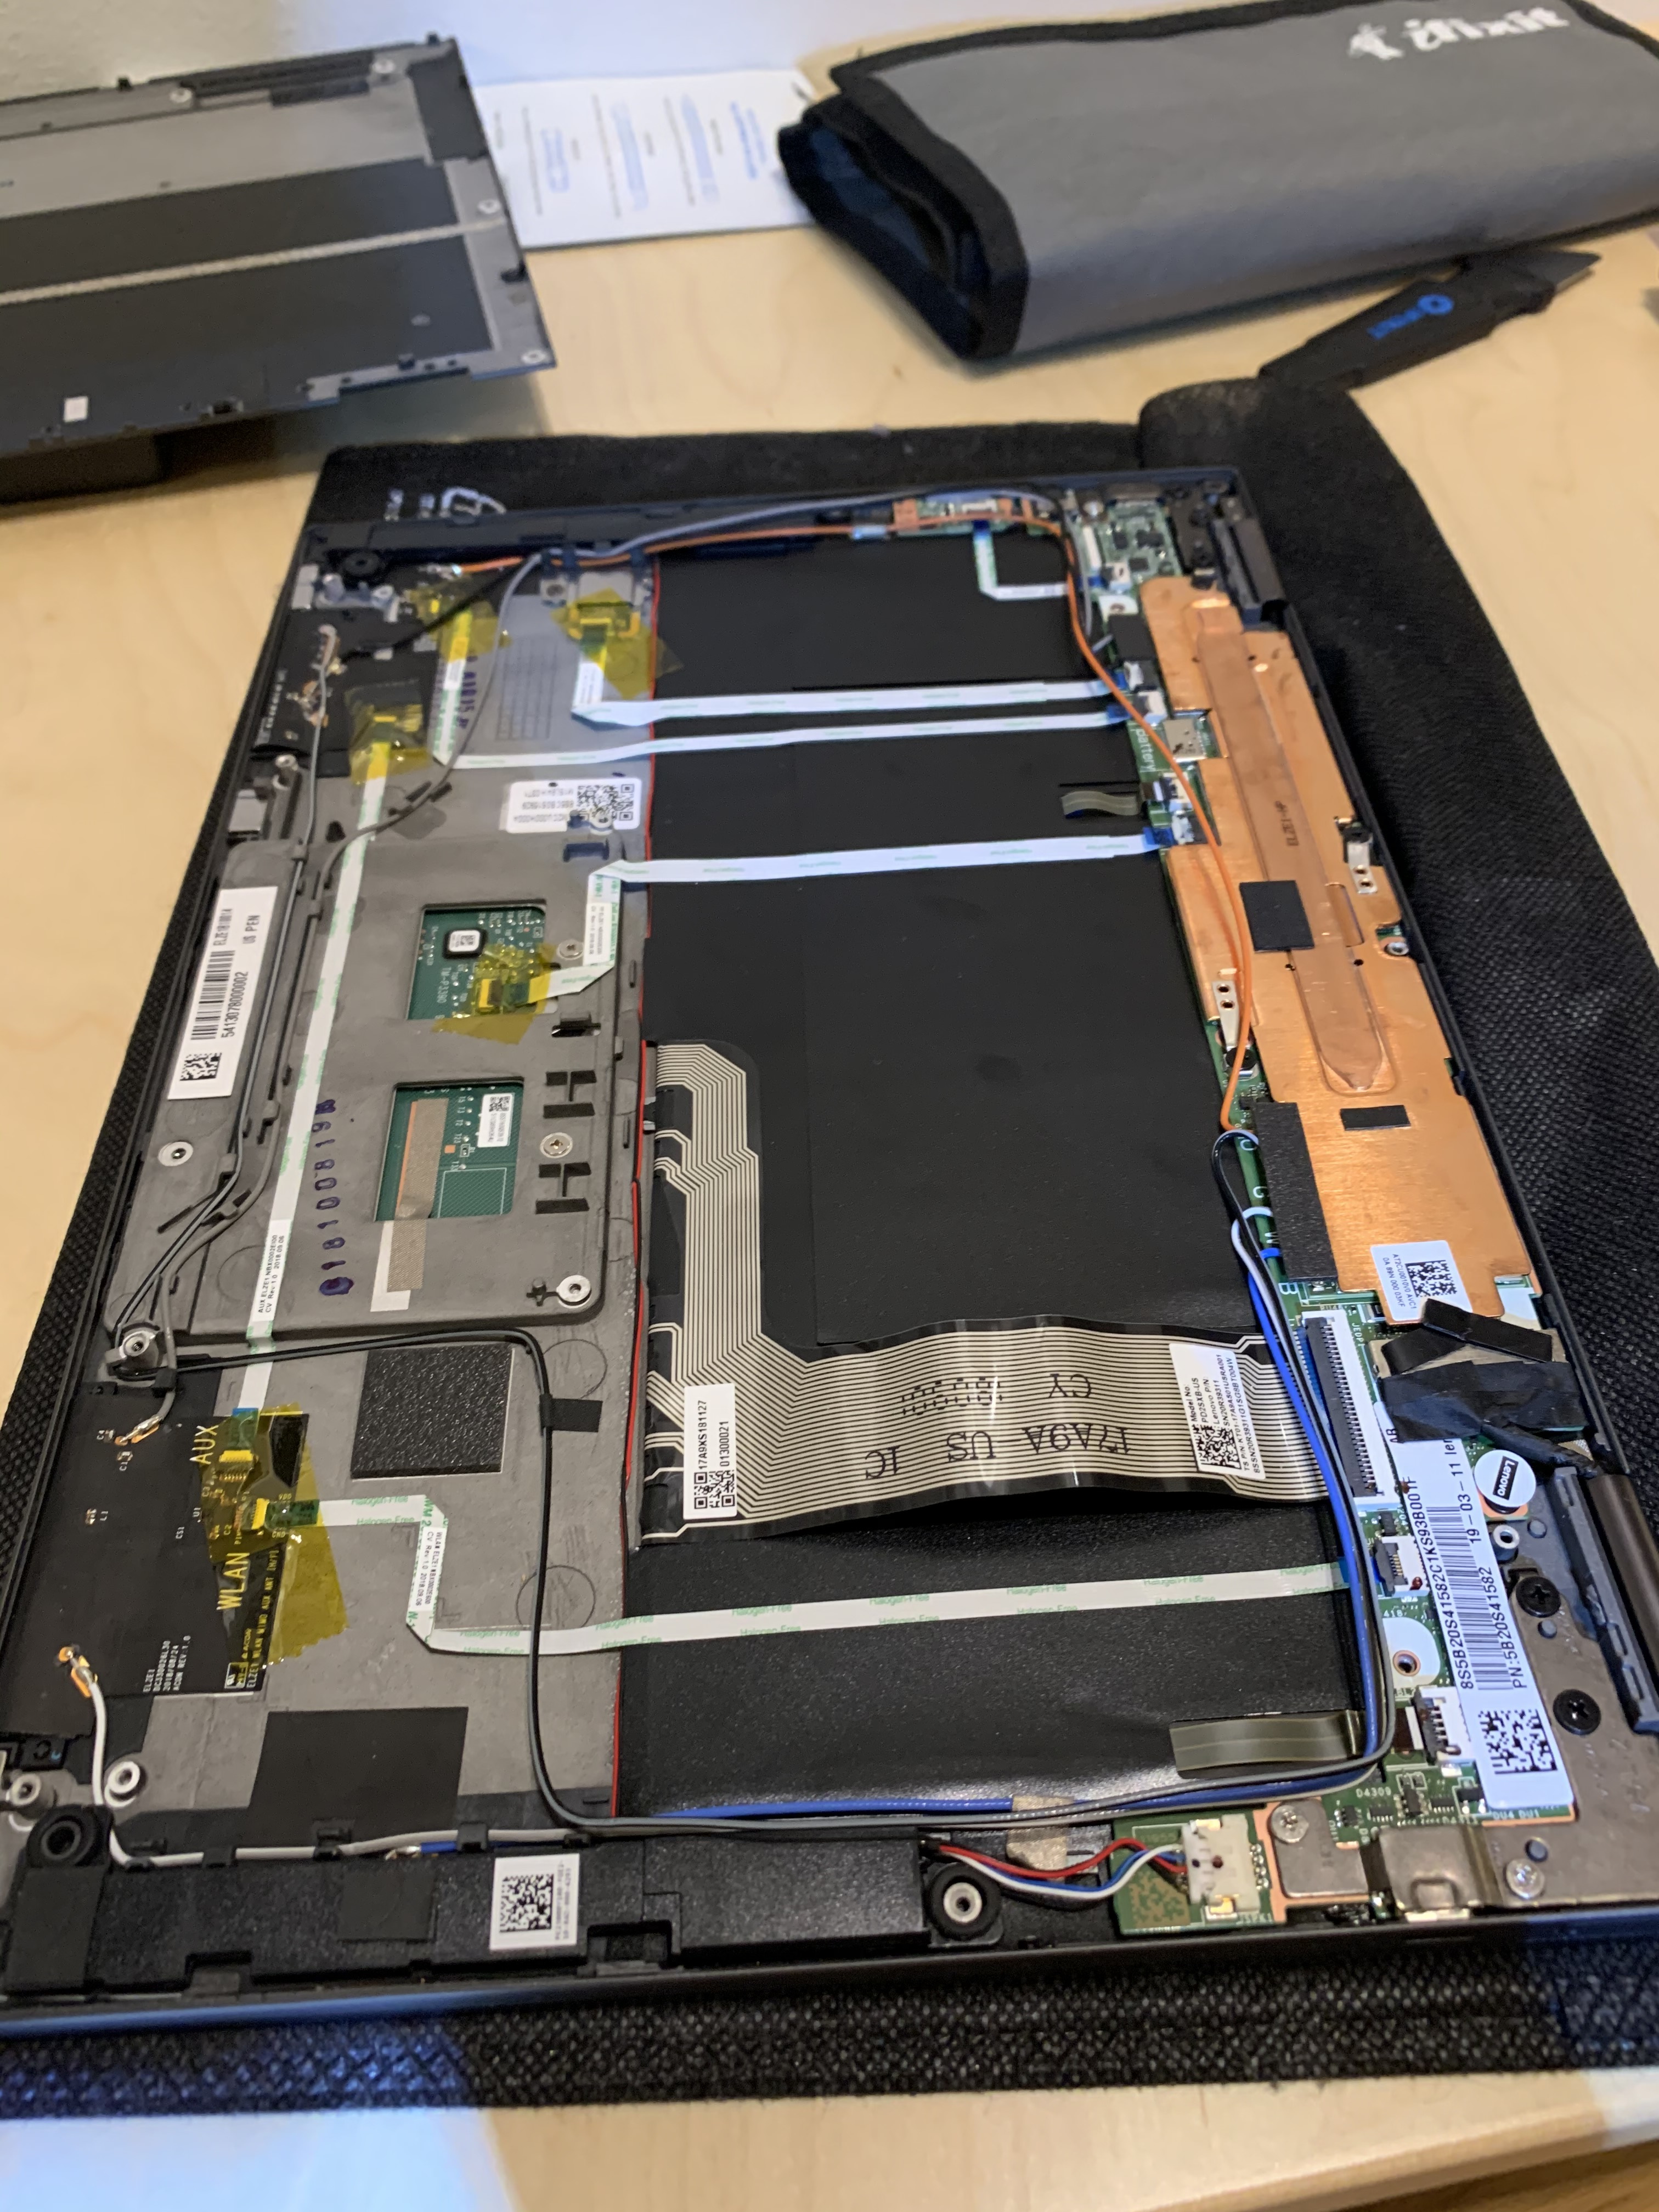
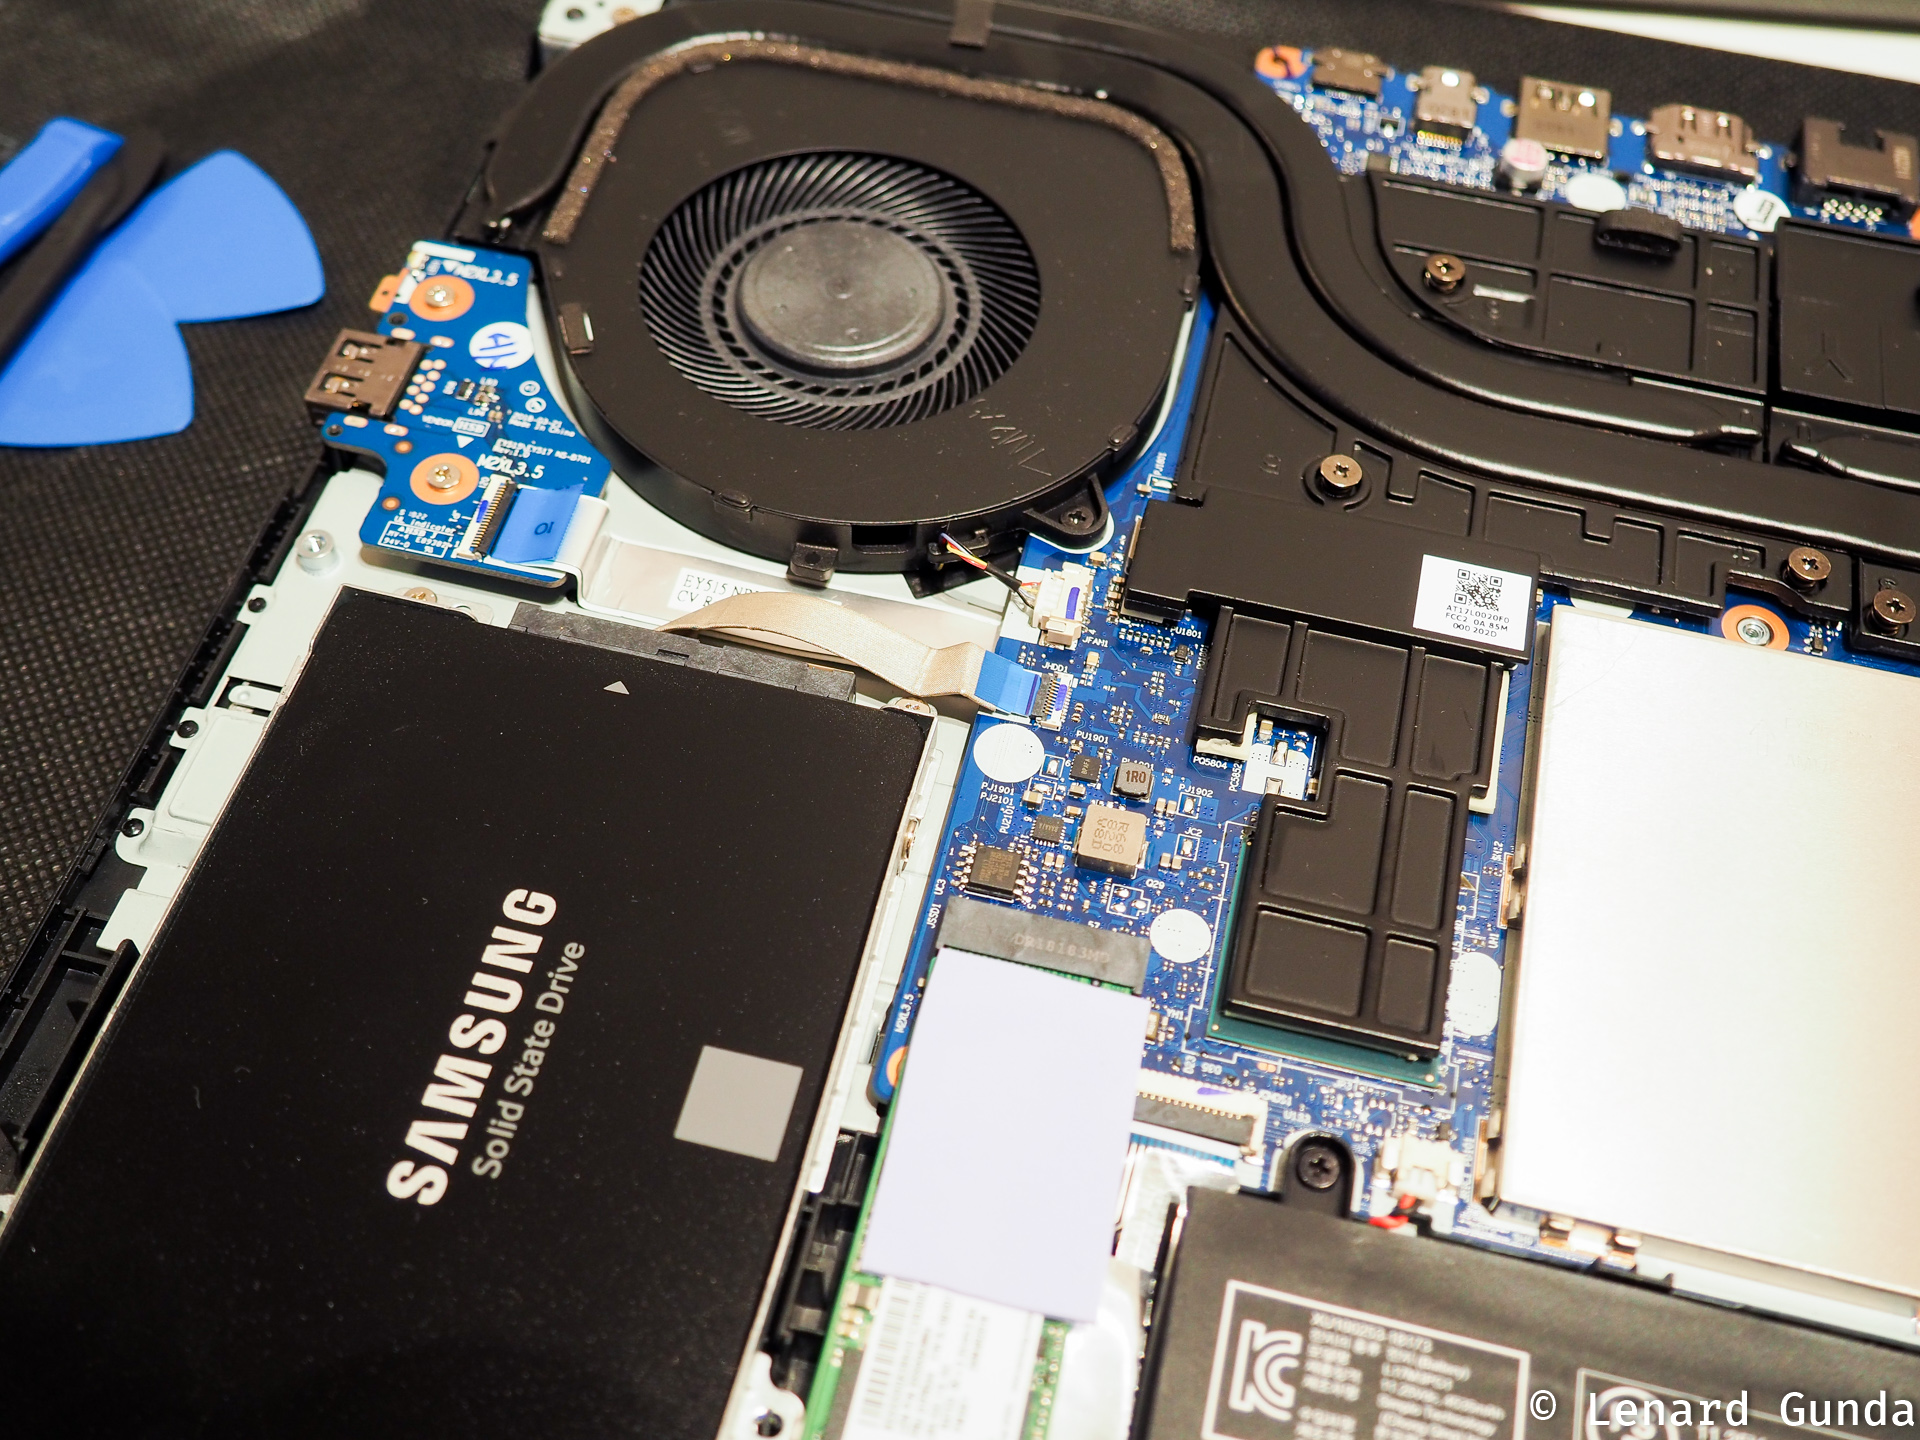
It is better to take detailed photos of everything you do, so you can refer back to them when putting the notebook back together. You can verify connections, cable routing, component directions and many other things from these pictures. There is no such thing as too few pictures taken during a repair.
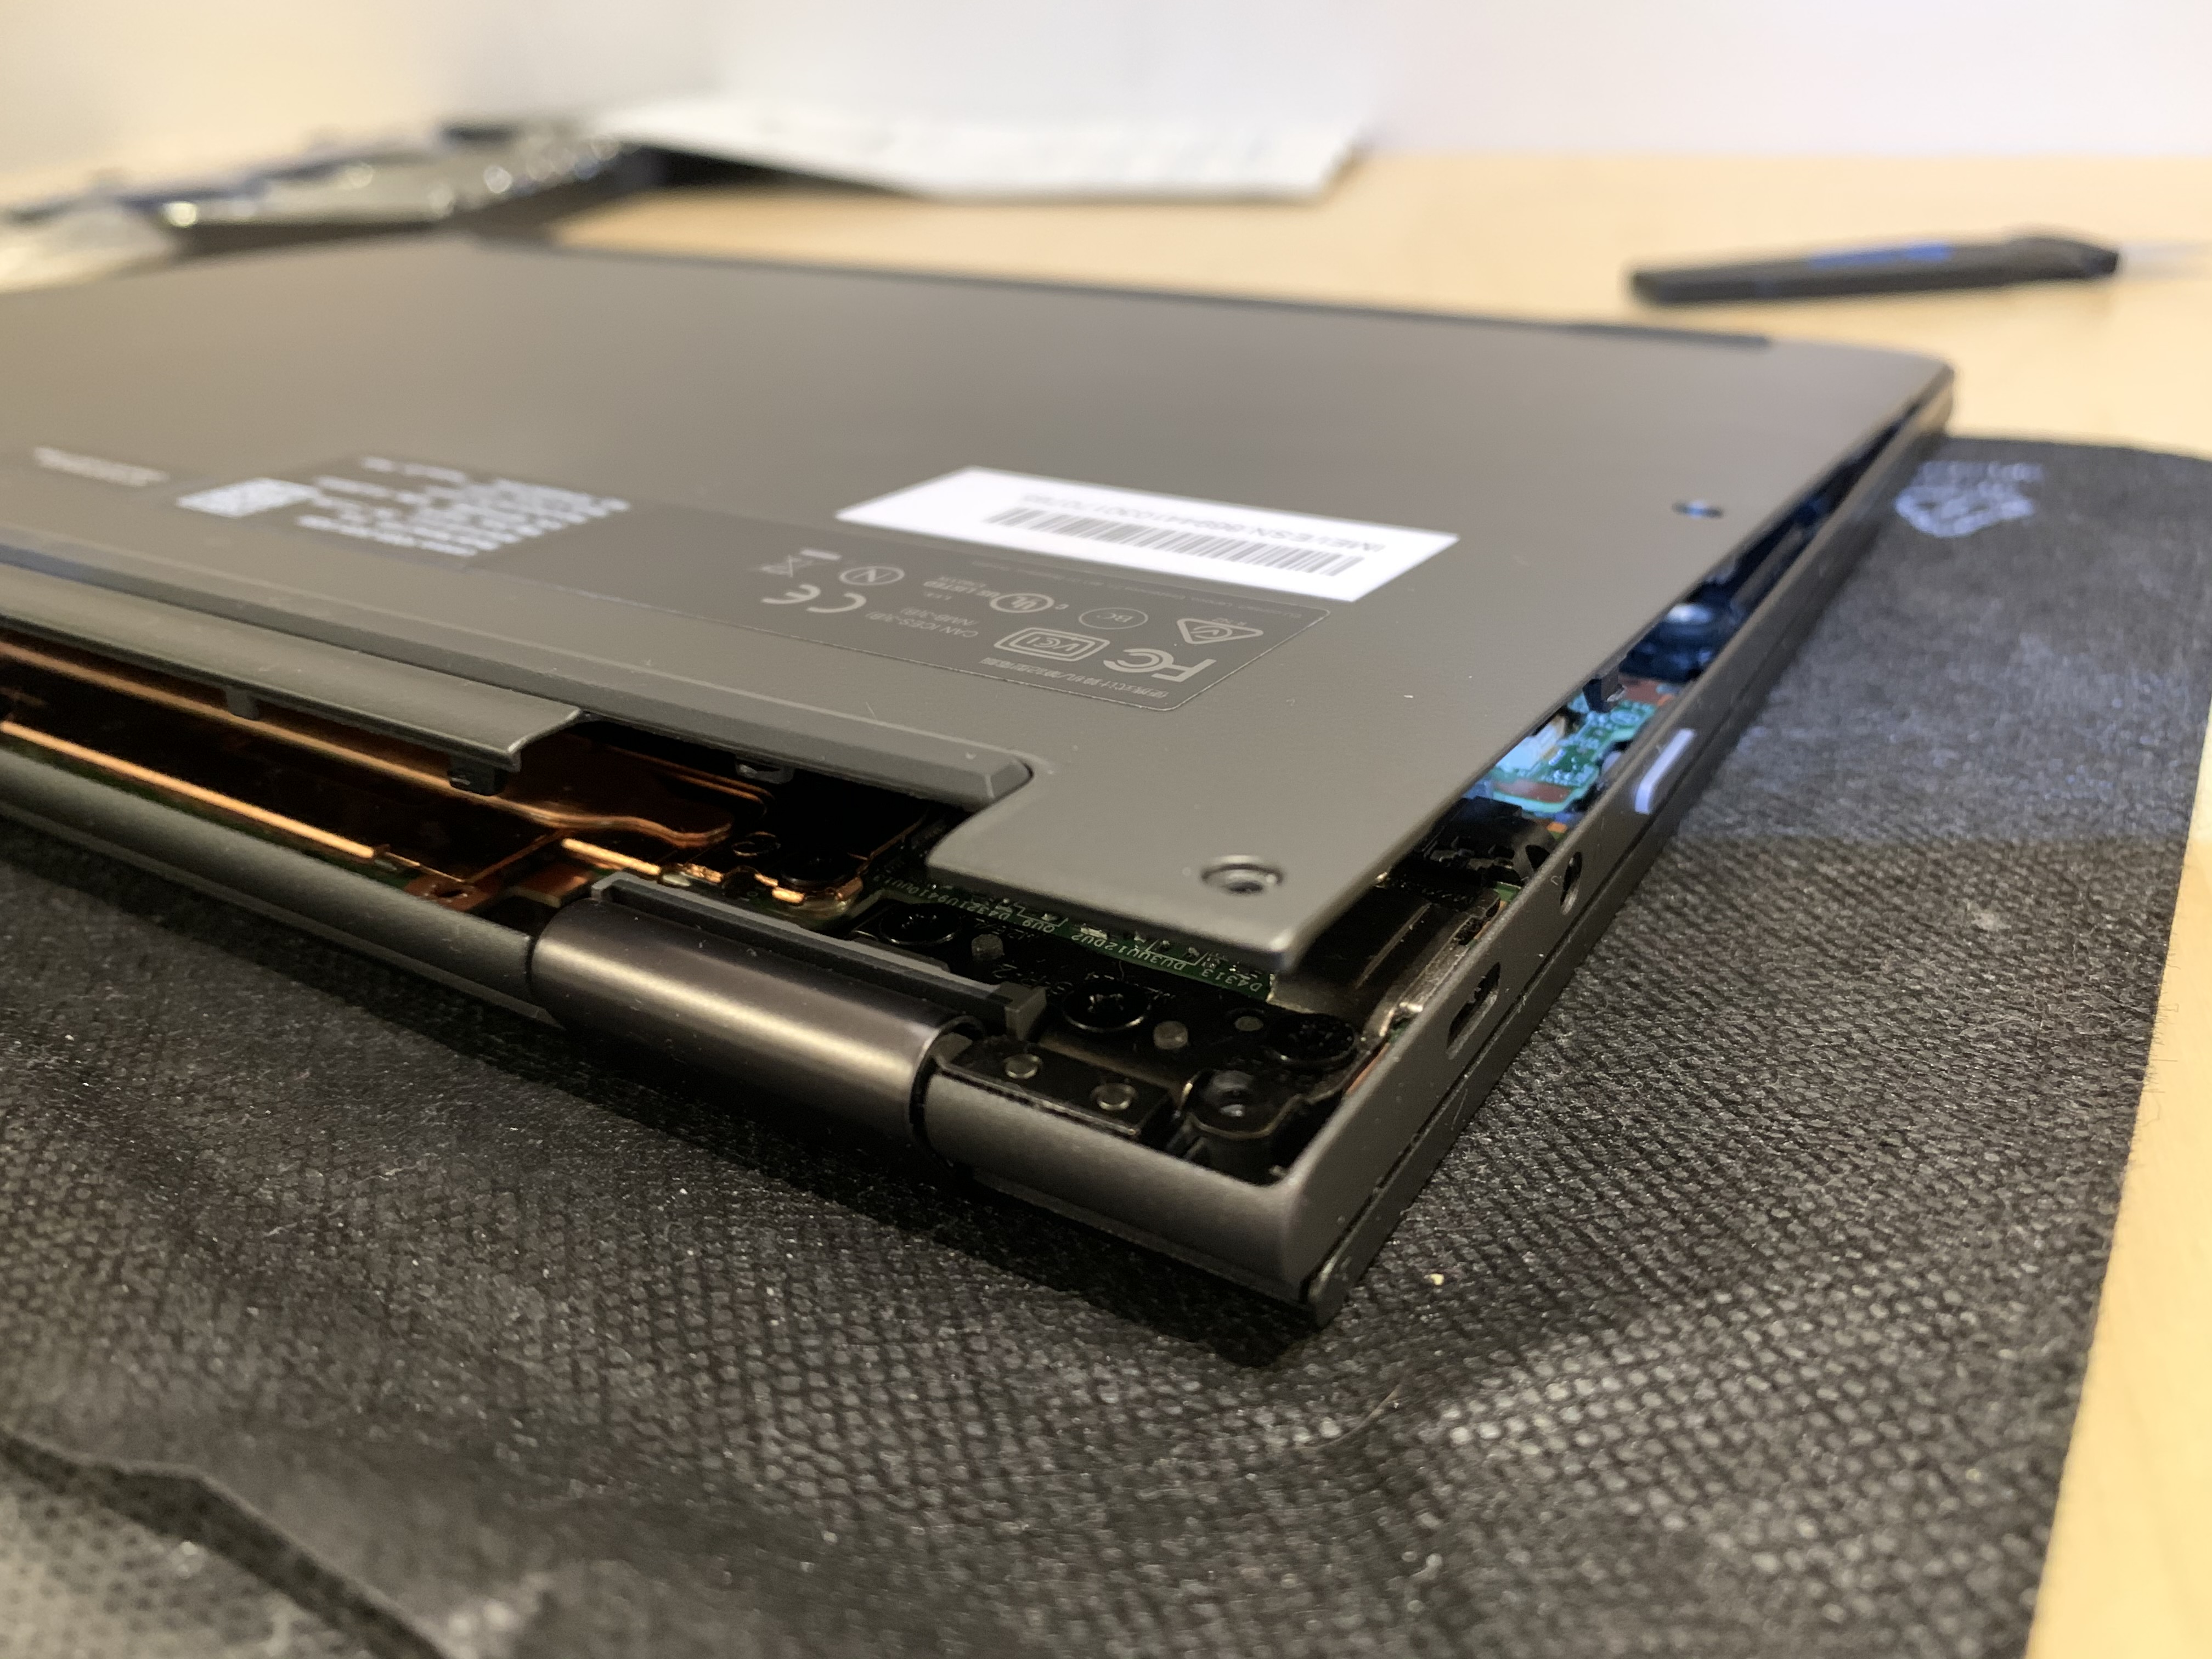
Opening up the notebook
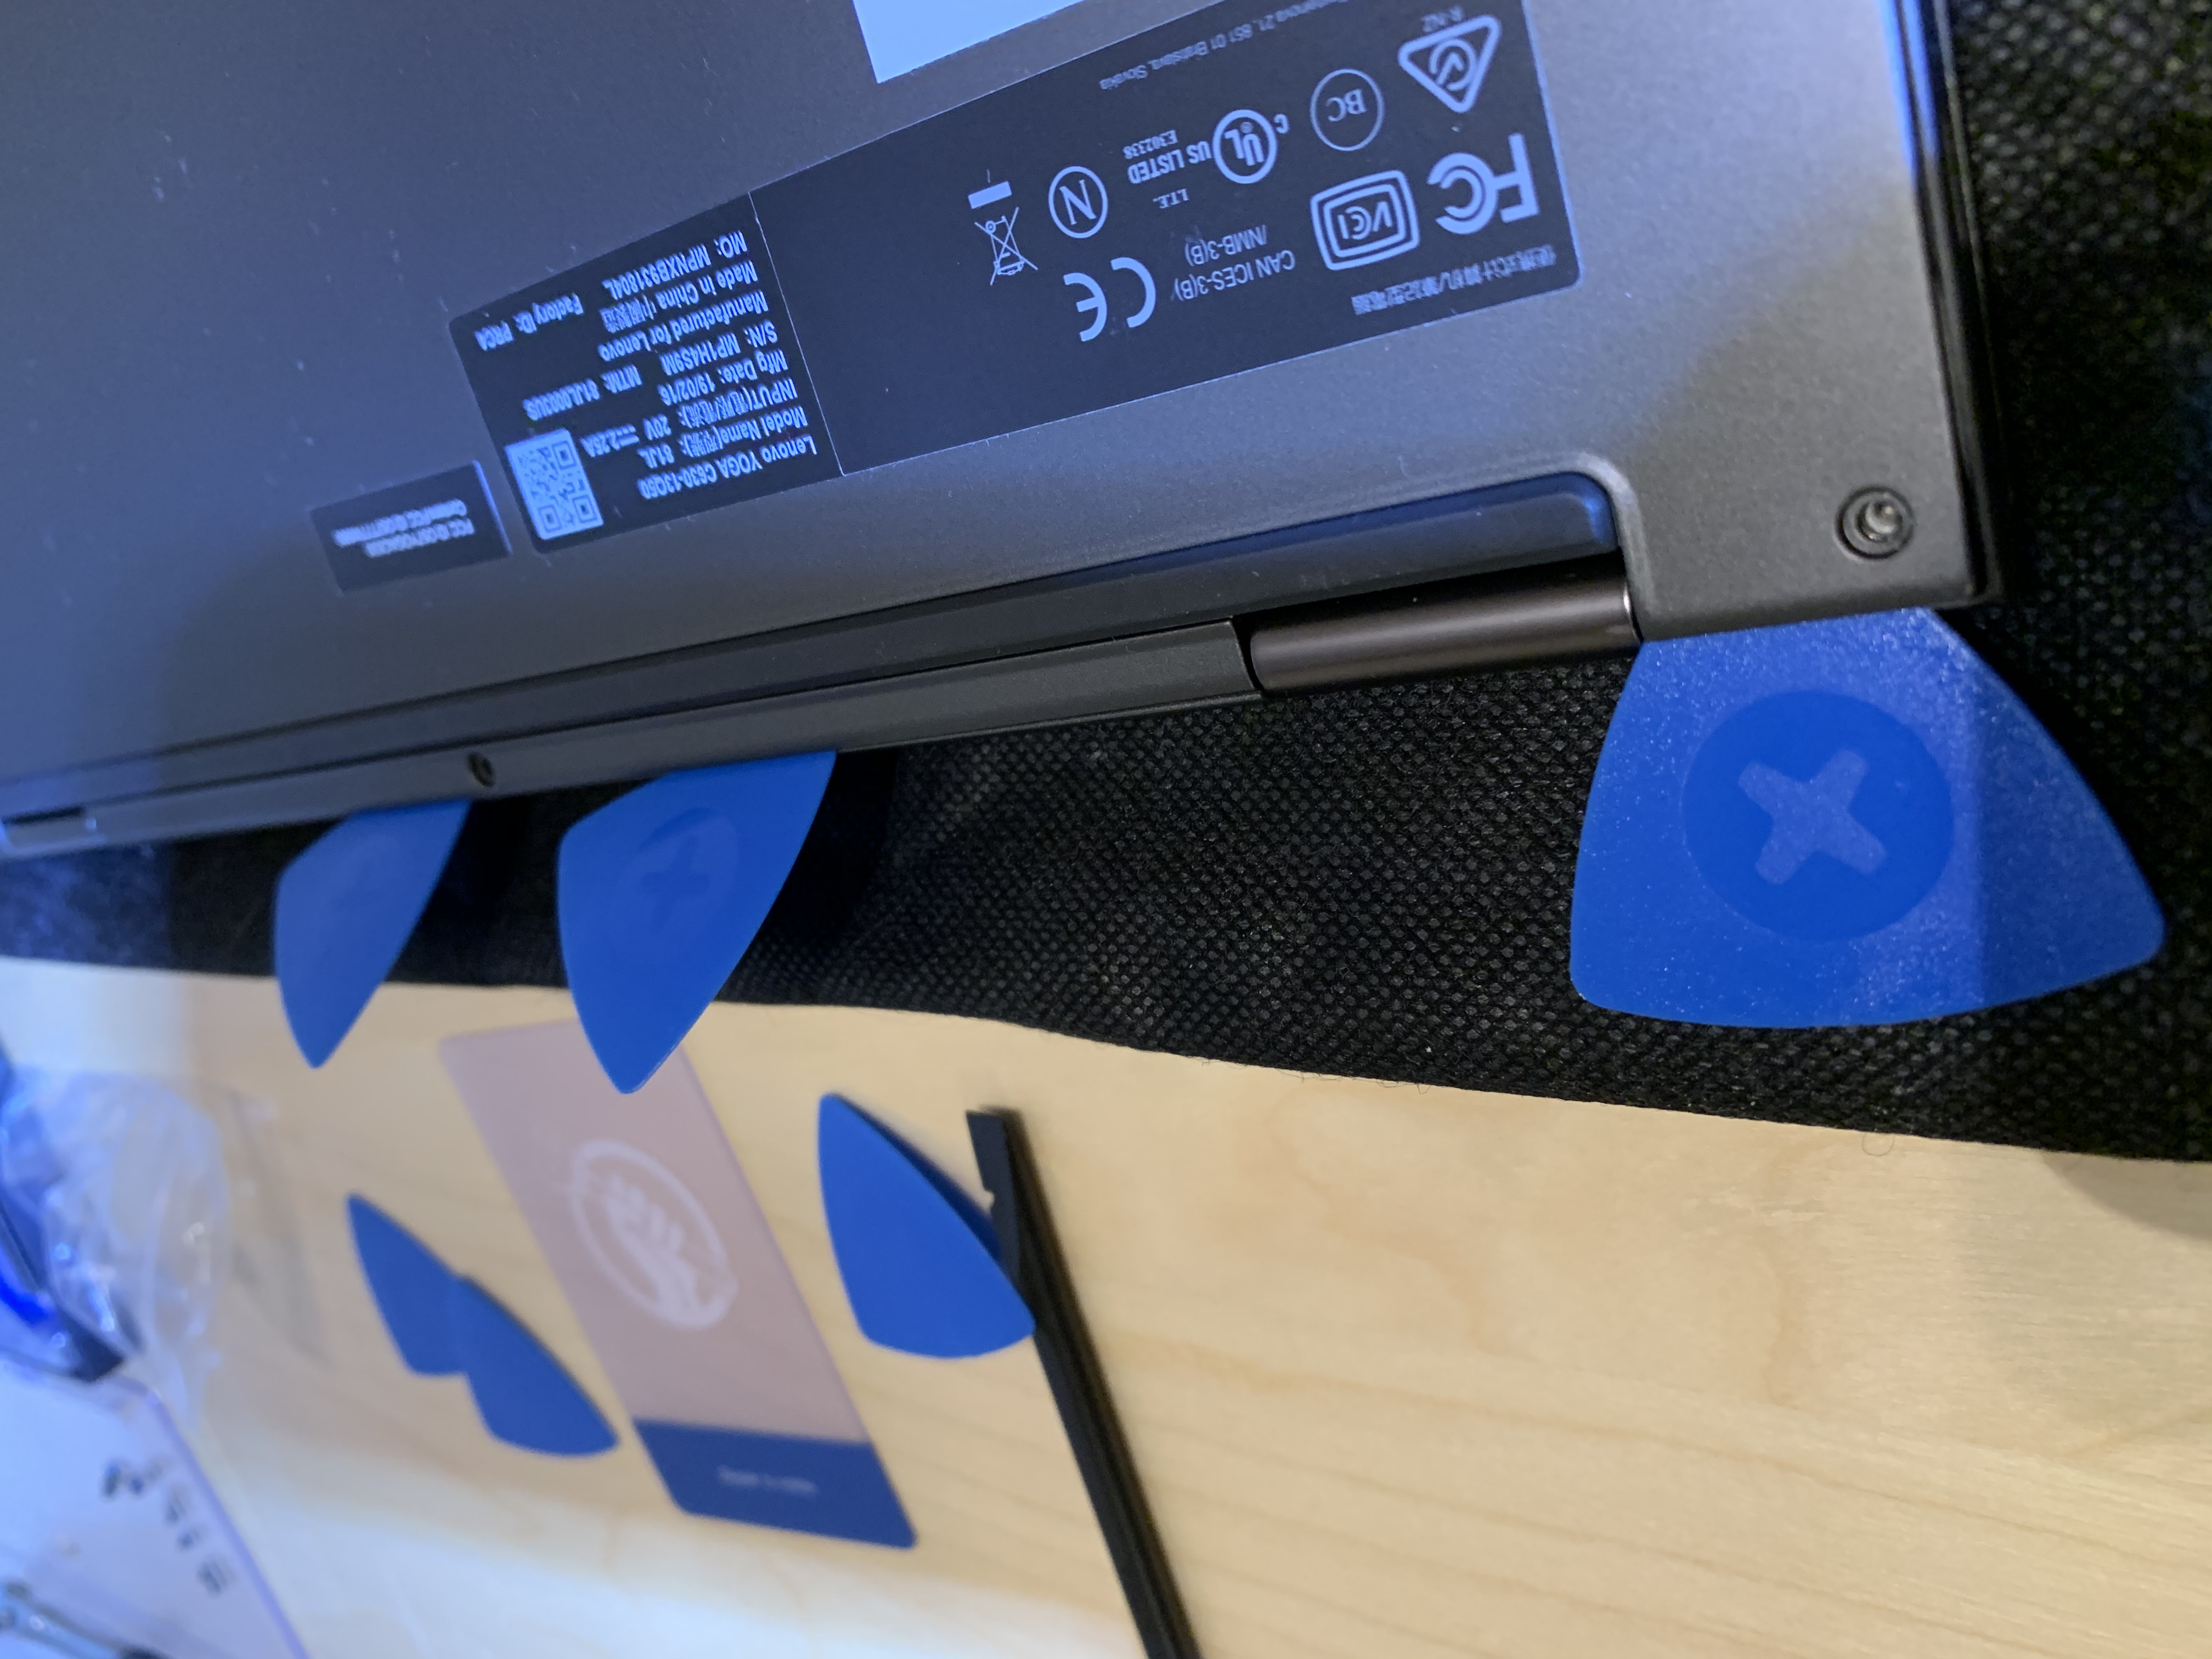
Manufacturers like to use little plastic clips to keep the notebook cases together. These can be a pain to release without braking.
My advice here is to proceed slowly.
The above mentioned toolkit has some picks to help open up. You can also use other tools, credits cards etc. to help you. Try not to use metal tools, because they can damage the notebook itself.
A suction cup can come handy in this situations as well.
The picks can be left inside the openings while you work on other sides of the case. Because sometimes the little things just click back together before you can open up the other side!
The iFixit spudger (carbon fiber one) can also be used to try and open plastic slips once you have made a little opening.
Wrap up
Hopefully you find some helpful tips when you embark on a repair journey next time around. Starting out can be scary, but with some forethought and preparation everything should be fine 🙂
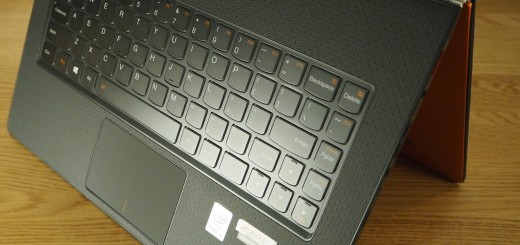
I added pictures for this article from my previous repair articles. Feel free to read more about them: