Legion Y530: Adding a HDD afterwards
The Legion Y530 can come with either one or two storage drives. It supports one M.2 SSD and one 2.5″ SATA drive. Thinking about getting one with the M.2 SSD only, and adding the 2.5″ drive later? This is the article for you!
The drive options in the Legion Y530
The Legion Y530 has two drive bays. One is a M.2 drive bay that can take NVMe SSD drives. The other is a 2.5″ drive bay that can take any 7mm HDD or SSD of the 2.5″ form factor.
There are different configuration options, some include both a M.2 drive and a 2.5″ HDD, some include only the SSD.
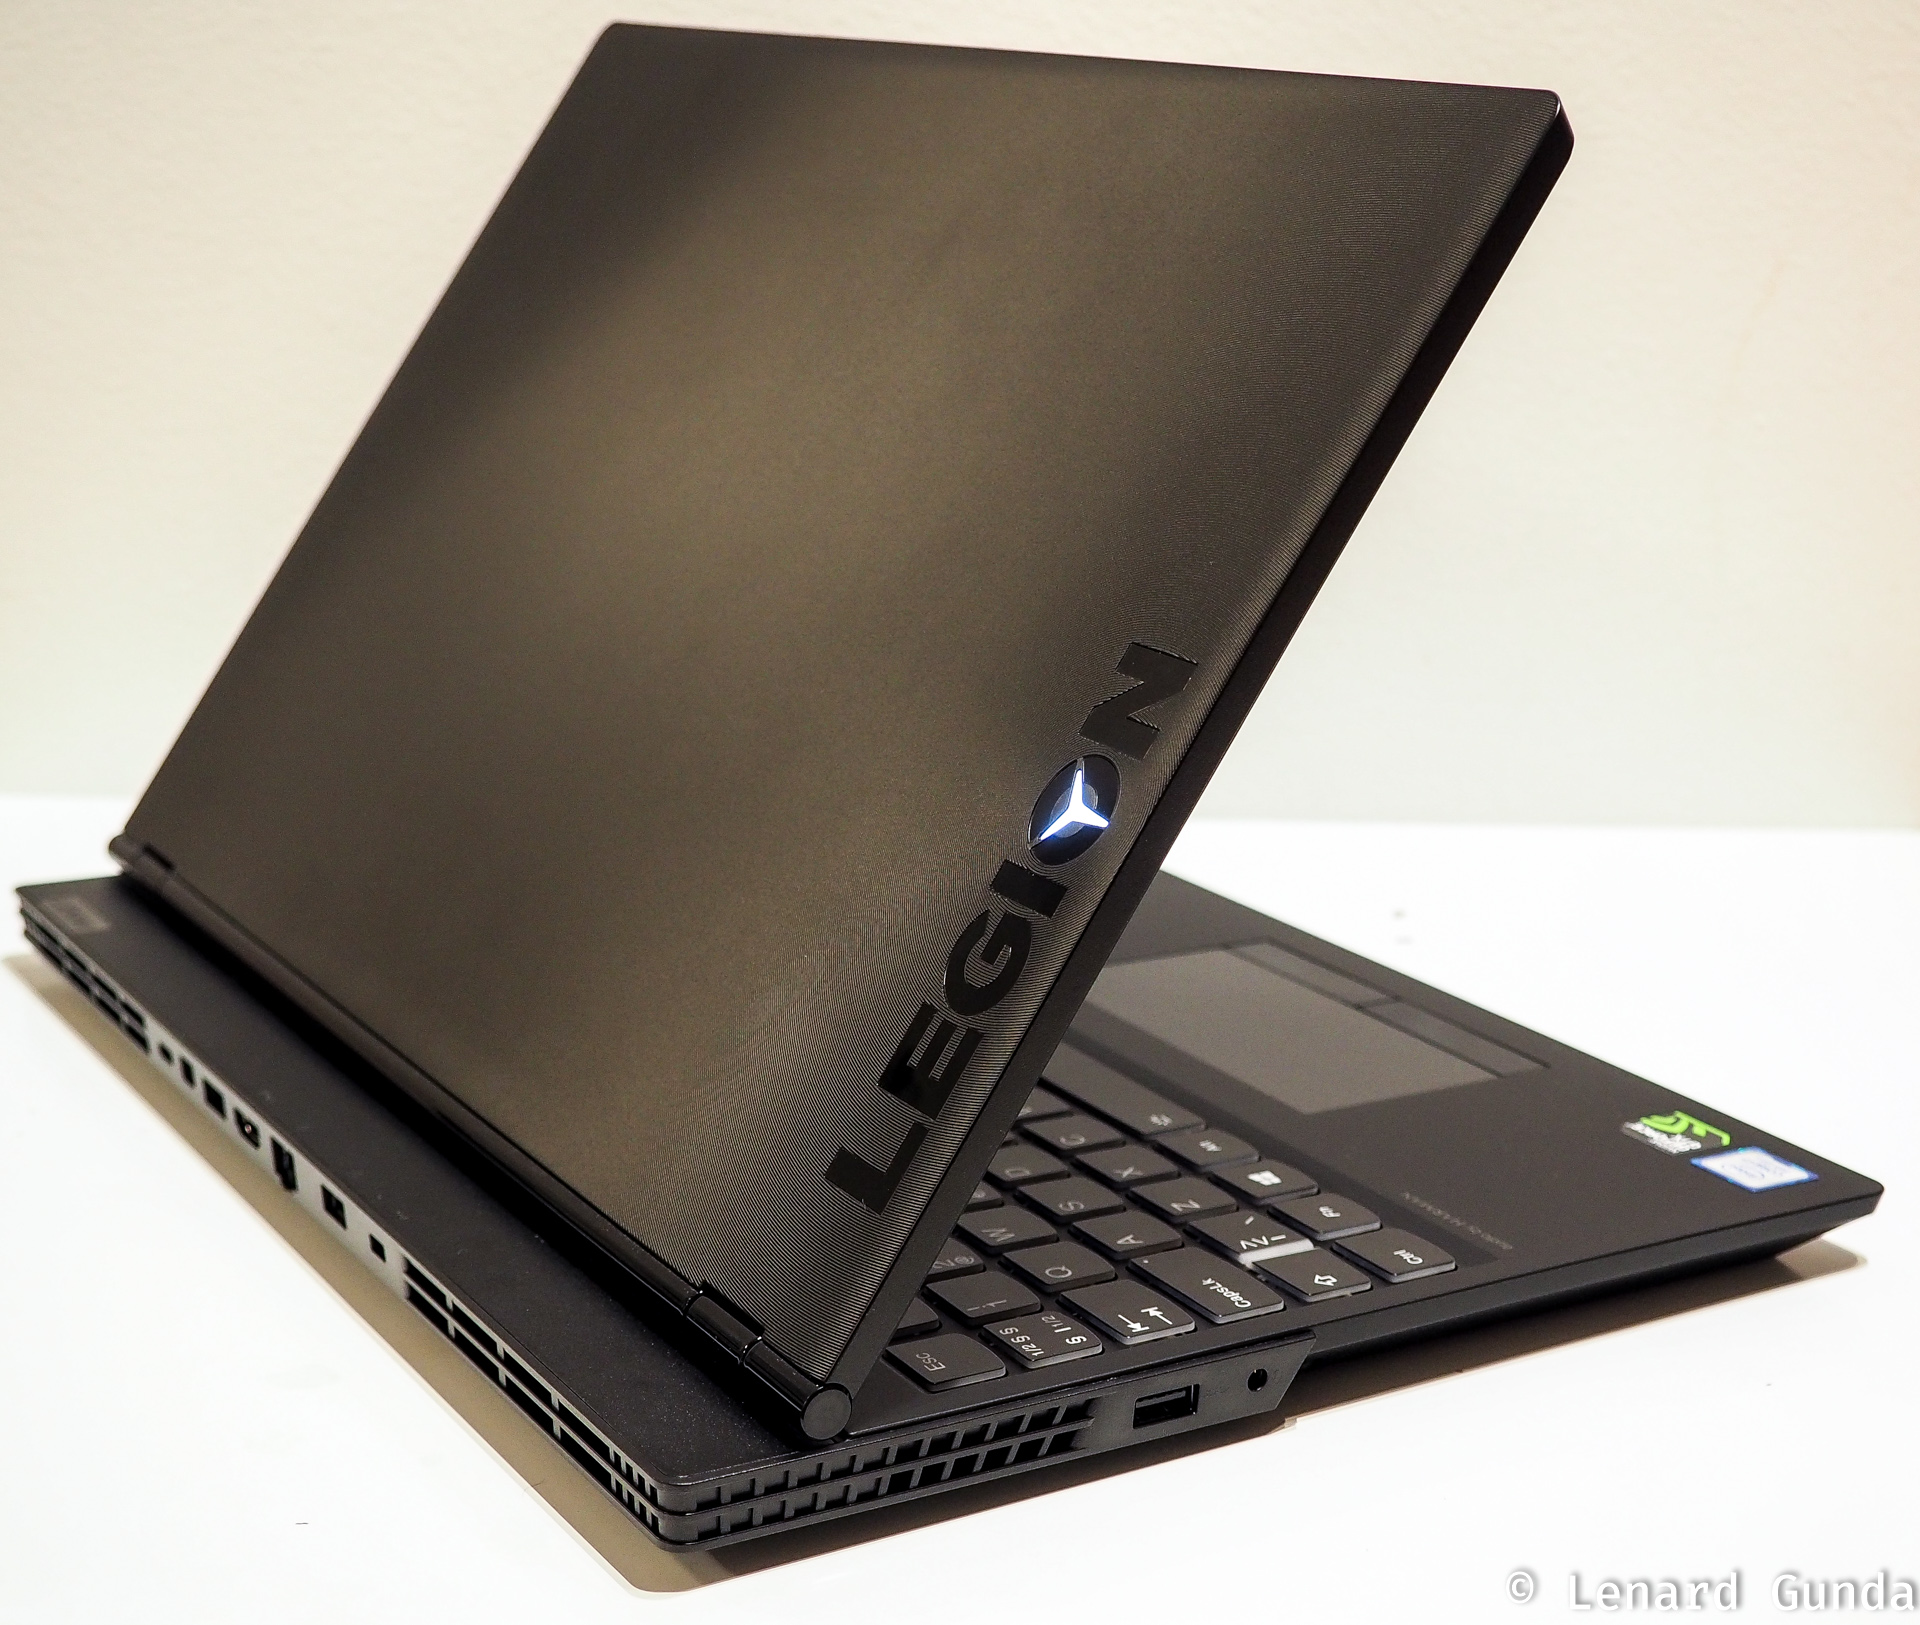
Lenovo Legion Y530
The HDD tray and cable
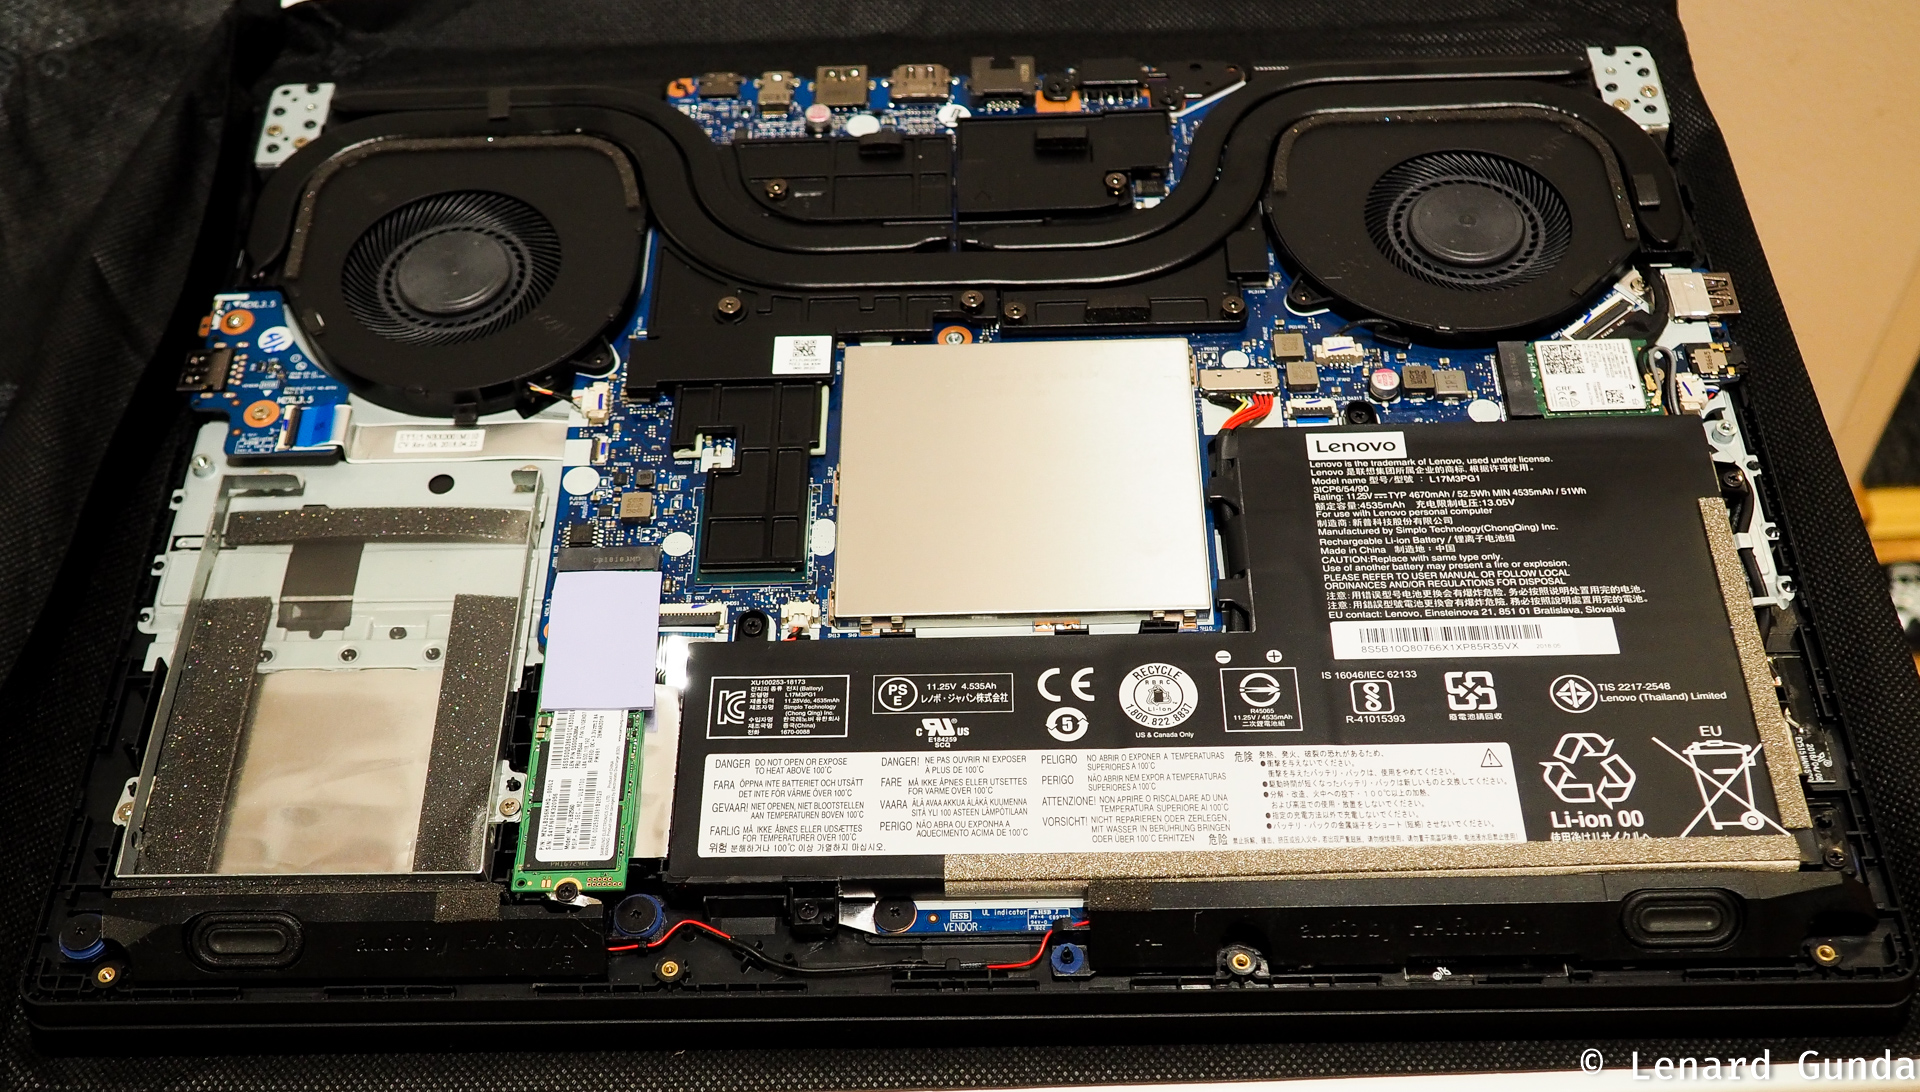
Looking at the parts lists or the hardware maintenance manual for the Y530 you will see that it includes both a HDD tray that is supposed to hold the 2.5″ drive, and a special cable to connect it to the mainboard. The big question: if I order without the 2.5″ drive, where will I get the tray and the cable?
Well, the answer is:
- The tray is installed inside the Legion Y530
- The cable is included in the sales package, along with 4 tiny screws to attach your 2.5″ drive to the tray.
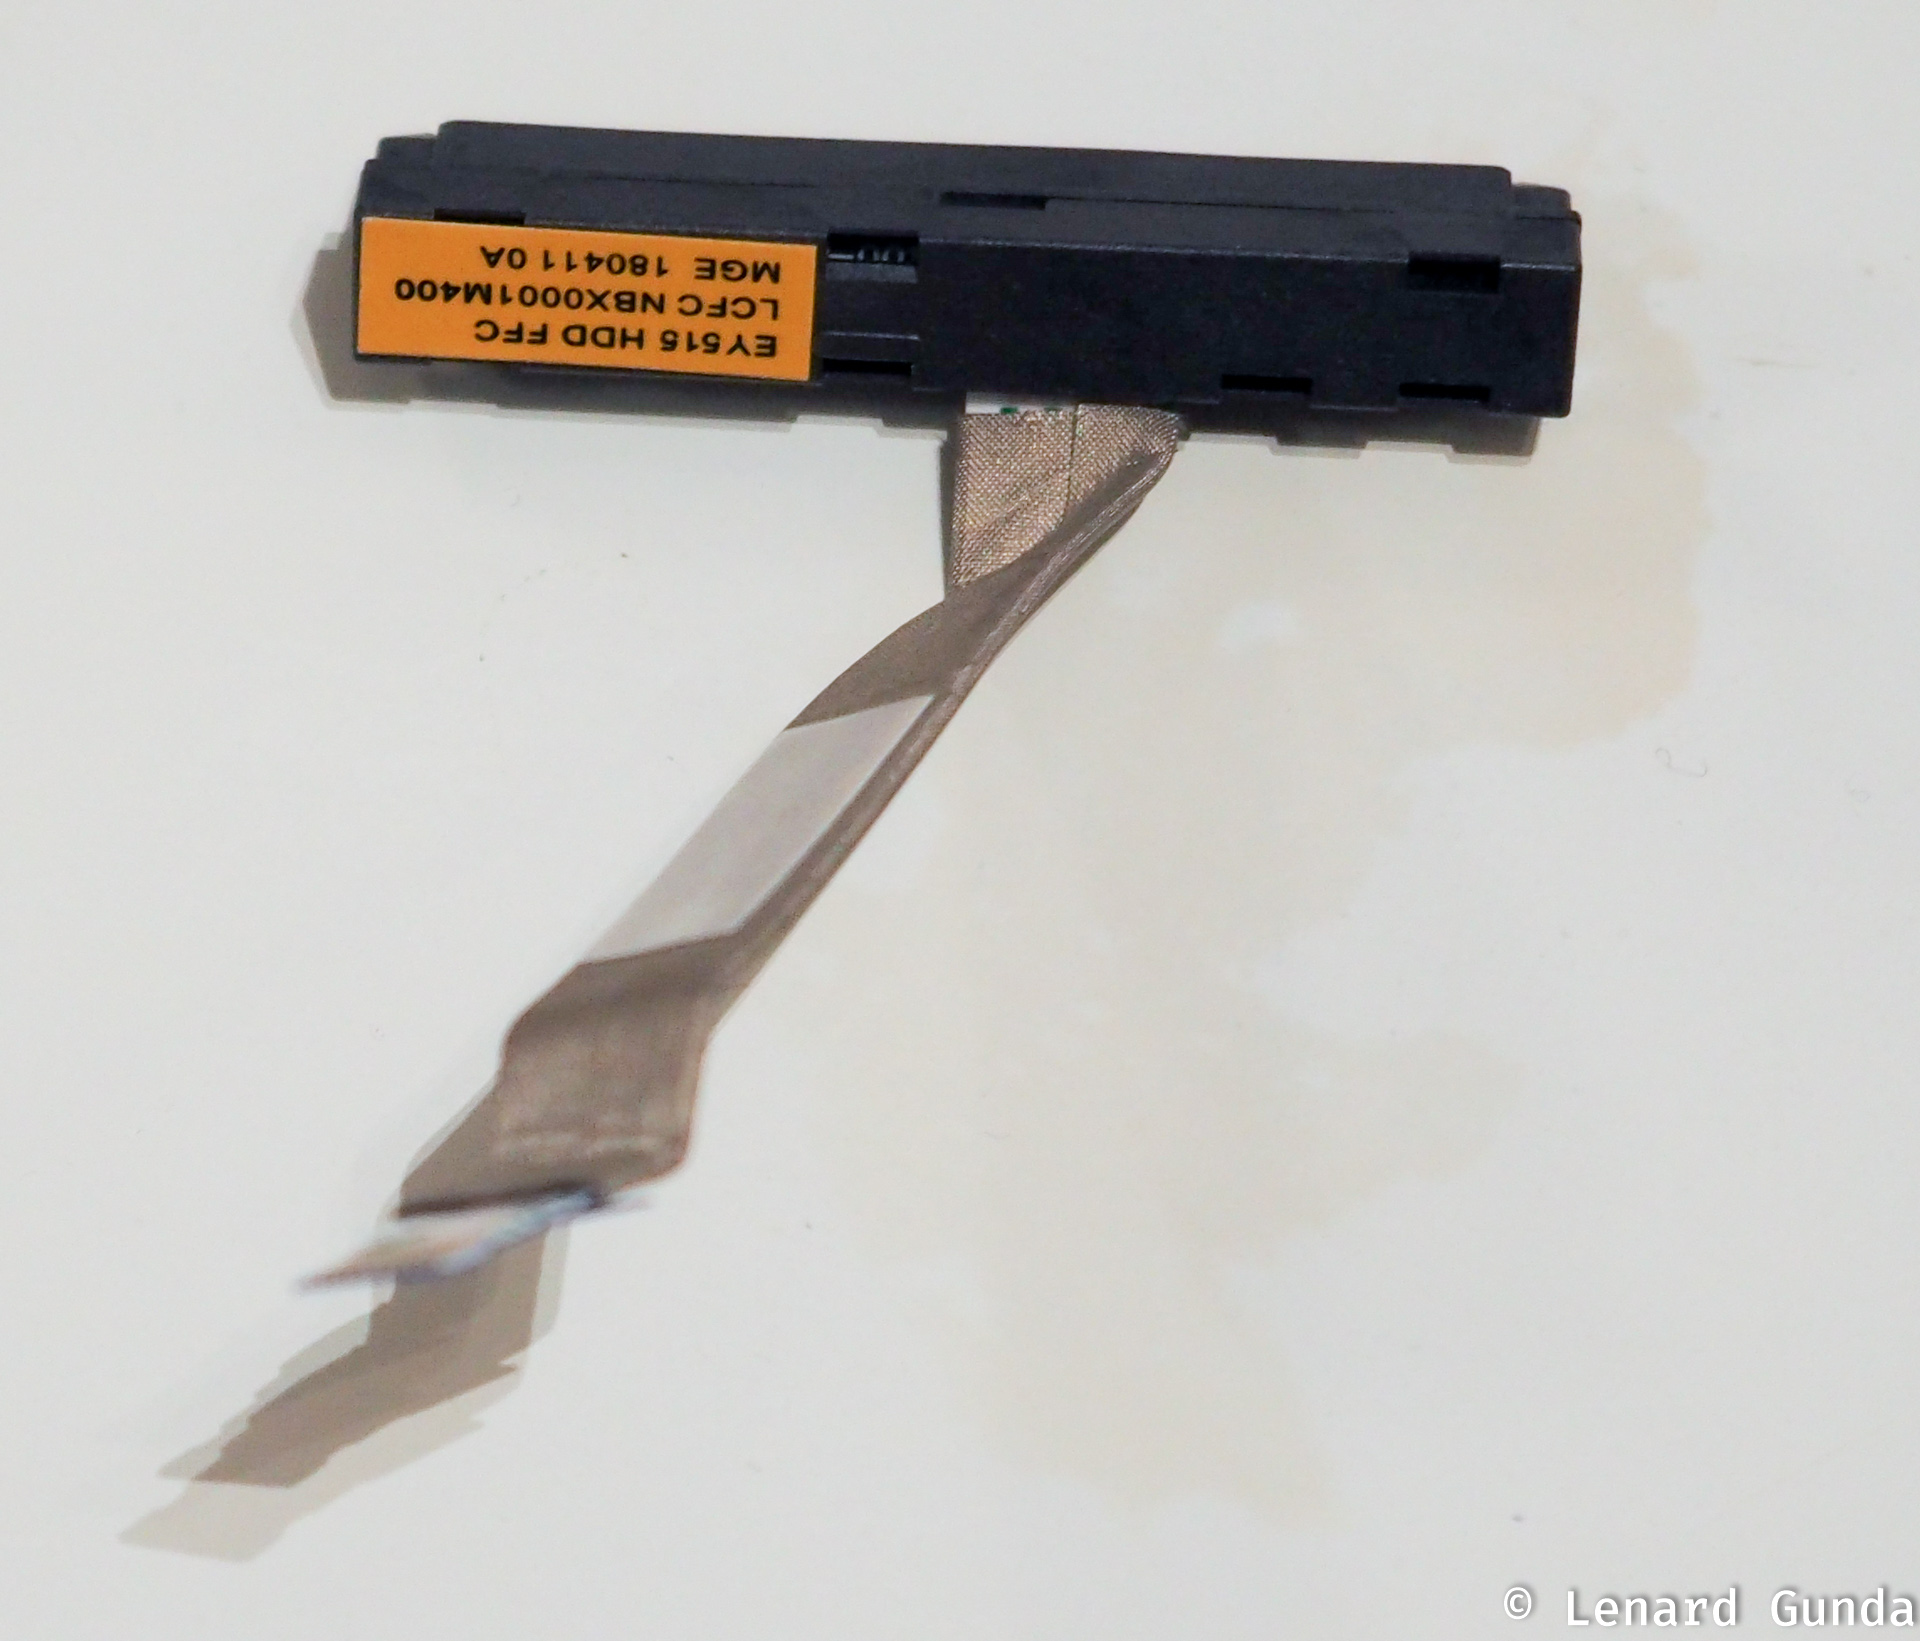
Legion Y530 HDD cable
Please note, that this statement that the HDD tray and cable/screws ship with the system is true in the EU! I am unable to verify if the same thing is true for other regions around the world.
Adding a 2.5″ drive to the Legion Y530
How difficult is it to add a drive to the Legion Y530? I had to find out, since my model came only with the M.2 SSD. I had a spare 500GB SSD laying around at home, which I thought I will add to it to expand storage.
You need to open up the Legion Y530 first. You can read about removing the back cover in my article about the Legion Y530 RAM upgrades.
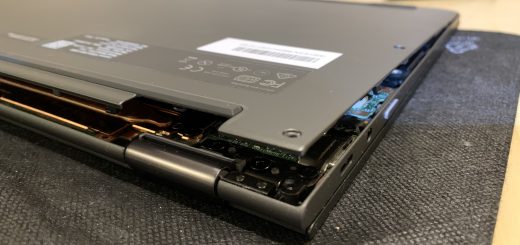
Legion Y530 empty HDD tray
You then:
- Remove the four screws that keep the tray in place.
- Add the 2.5″ drive to the tray
- Connect the cable to the drive
- Put the tray back and secure it with the four screws you took out in step #1
- Connect the cable to the system board
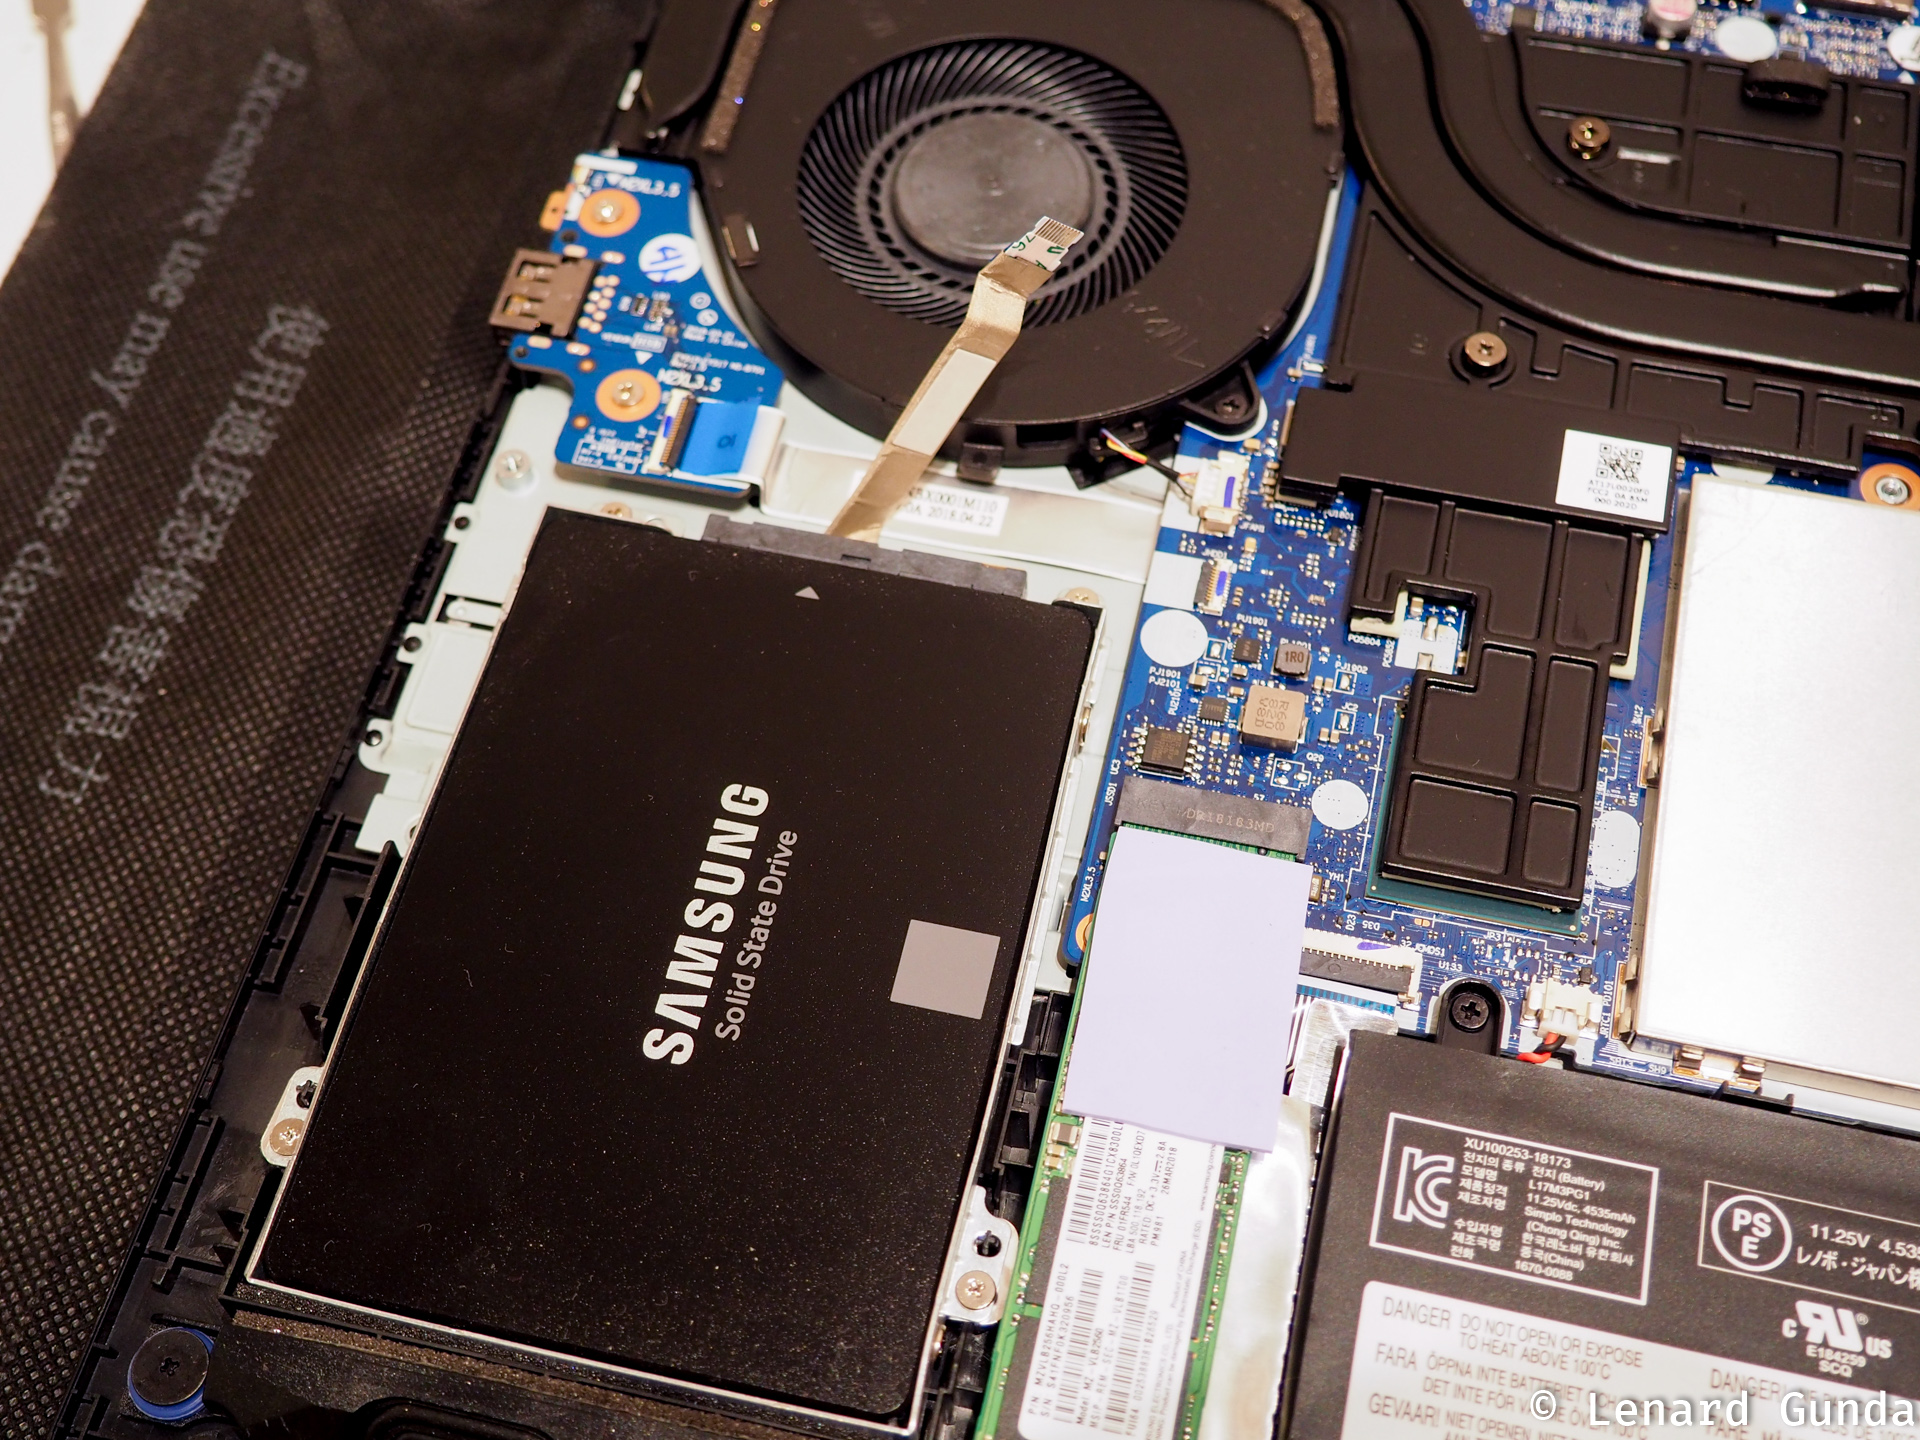
2.5″ drive installed, cable still unconnected
When connecting the cable be very careful, the connector on the system board is tiny and feels really fragile! I suggest you open it up with a tool, like the iFixit spudger. Slide the cable in. Then close the plastic flap again with the spudger.
Then follow the RAM upgrade article on how to close up your computer.
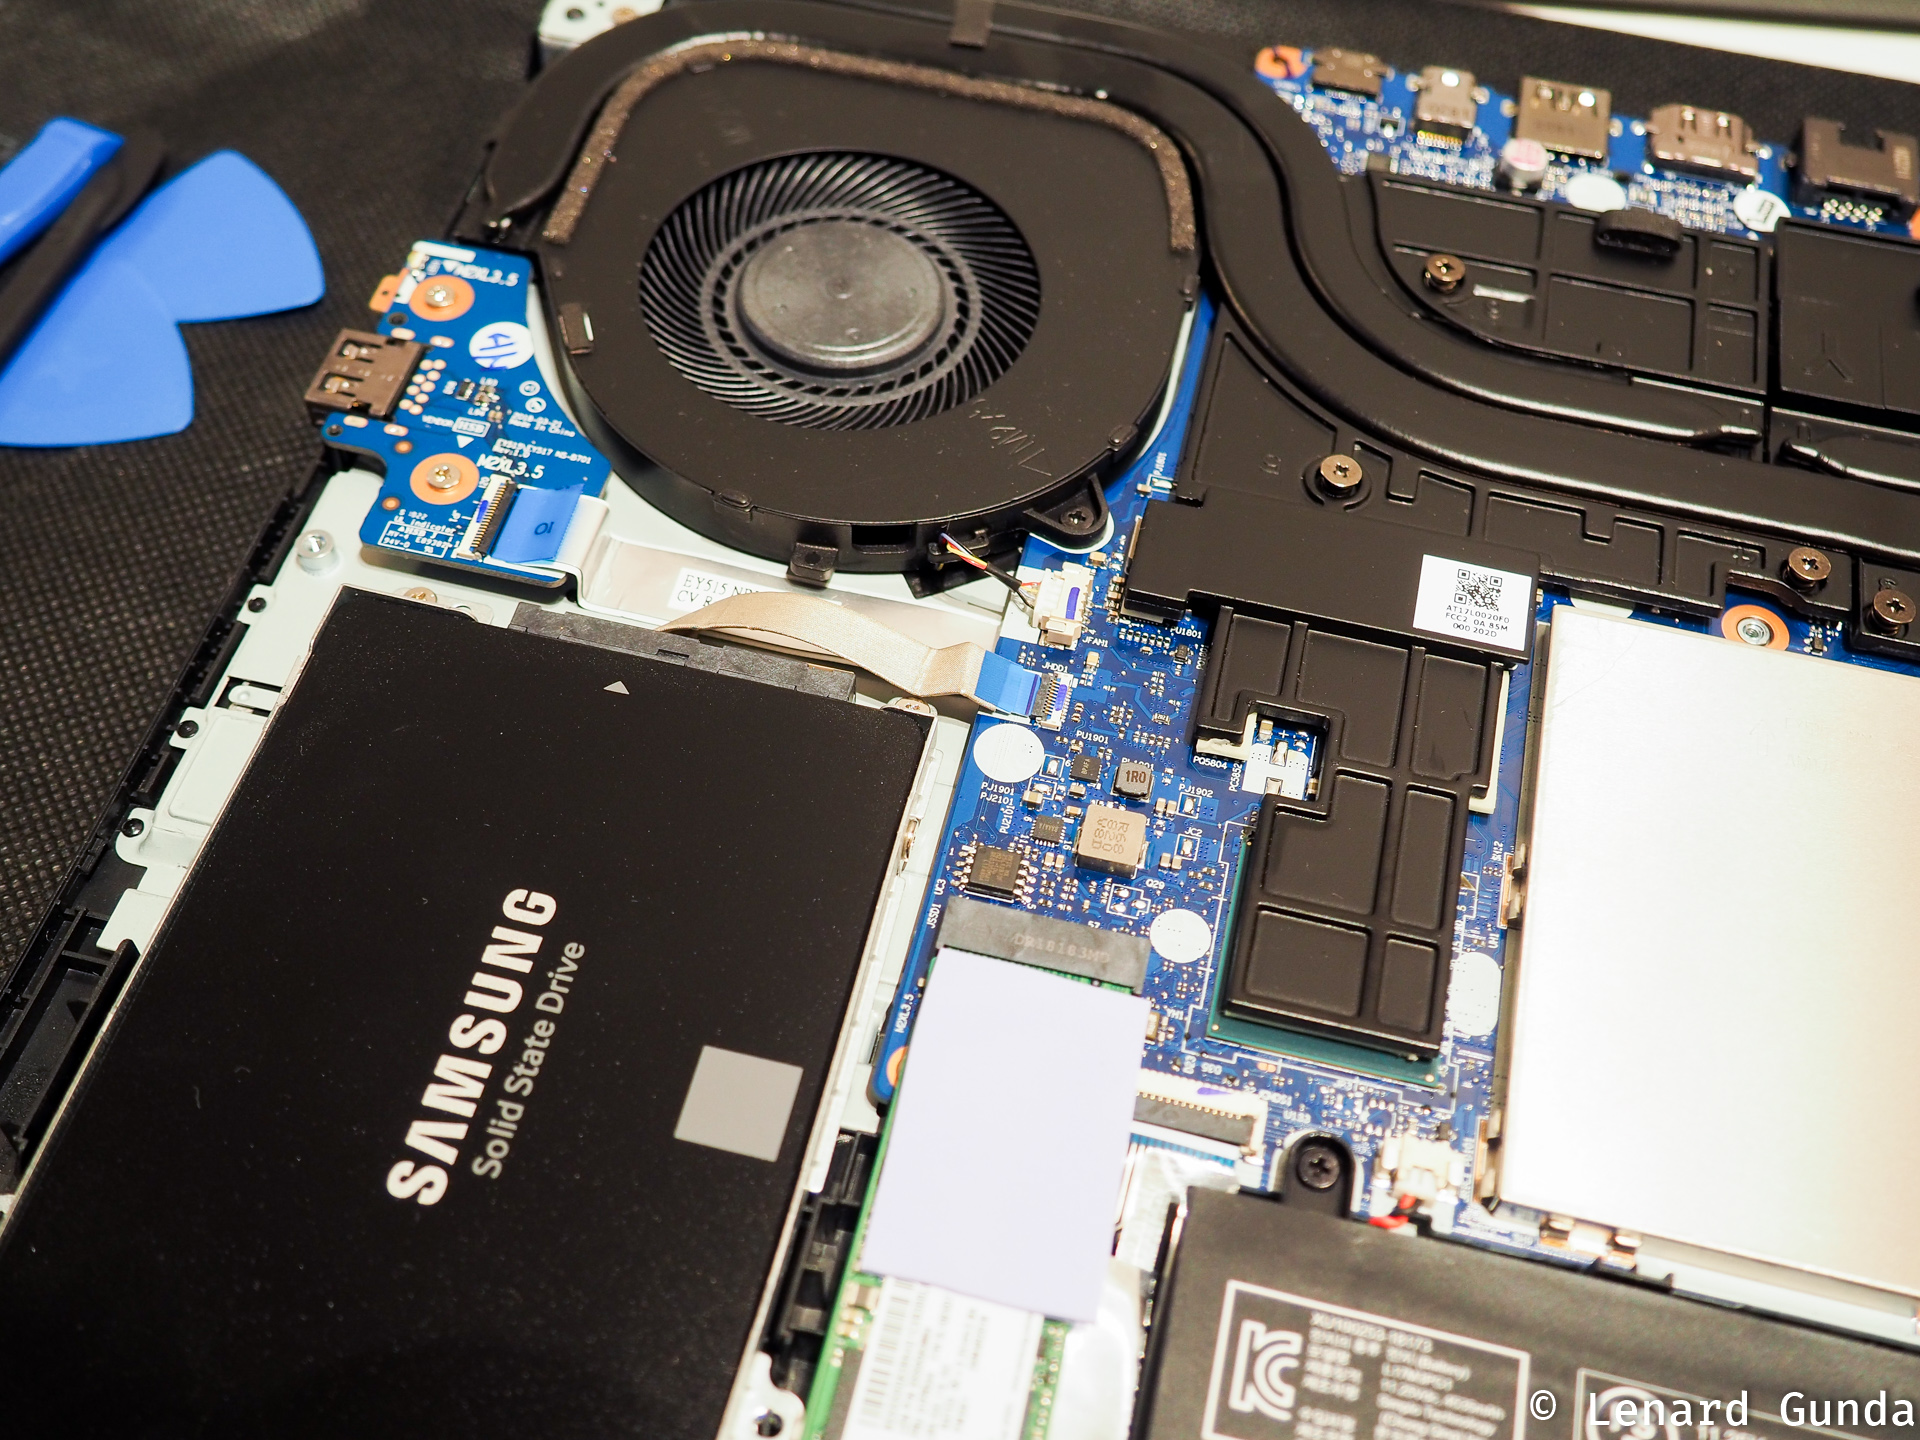
2.5″ drive added, cable connected
Partitioning
You will need to format and partition your new drive. You can do this inside Disk Management in Windows.
Enjoy your extended storage space!


Anyone know if the hard drive components are included in Australia?
Hey, will adding a HDD/SSD break the warranty? Because you said adding RAM didn’t, but I’m not sure about storage. Thanks.
his laptop came with no hard drive installed, so it doesn’t affect the warranty, but if you removed an already installed one and put another one, then I think you’ll break the warranty
The “official” way Lenovo says this is this: if you upgrade the RAM or the HDD, it will not break the warranty for the rest of the systems, but these parts you change will not have their factory warranty. So if you change the drive installed, it will have it’s own warranty, and not the warranty of the rest of the computer.
If during this update, you break something else, it will not be covered by warranty either. Say you break a cable or scratch something important, etc. That is not covered.
But if you display breaks say 6 months from now, that is still covered by warranty (if you are within your warranty period).
If you ever need to send in your computer for repairs, ALWAYS REMOVE the parts you added. Because if you send in your own HDD, and they end up replacing the entire notebook or want to replace the HDD, you will NOT GET your HDD back. The service would probably supply the same HDD your computer came with. Continuing the example above. If you replaced a 256GB drive with a 1GB drive, sent it in for the display service and for some reason they also want to replace the HDD, you will get a 256GB drive (because that is what the computer came with) and you will probably lose your own drive. Not necessarily, but probably. 🙂
This is because service does not look at what is inside your computer: they look at what should be in there according to your specific model.
Does it need to disconnect battery first before you add new ssd to sata 2.5 place?
It is very much recommended that you do so! The battery should be disconnected in every laptop that is being serviced.
Is it possible to replace the graphics card of the Legion Y530?, Is it possible to have two ssd or just one ssd and one hdd?
You can have two SSDs: one is a M.2 form factor SSD, the other a 2.5” format SSD.
Added a 2T HDD and no problem at all. Next trying to get 32 G ram installed. Great instructions from you. Thanks (Kiitos Paljon)
My config came with a 2TB HDD and a 16GB Optane drive. Question is does the Optane drive take up a slot or can I install an additional SSD in there?
Hey Lenard and all here,
By replacing the original primary 2242-type 120GB SSD to a 500GB 2280 (Smasung EVO Plus 970) sometimes the temperature of the M.2 SSD goes to 75-80°C without playing any games or using photo/video editing softwares. The SSD is fully covered with silicone heat sink to make a direct contact to the matching copper foil on the bottom cover. Instead of continuous use of fan stand what would be your recommendation to reduce the temperature?
I’m using the HD Sentinel pro (5.61) to check the status of the hard drives.
Thanks for your feedback in advance
I am sorry to say, that I have no ideas myself how to reduce the temperature of the SSD in this situation. 🙁